
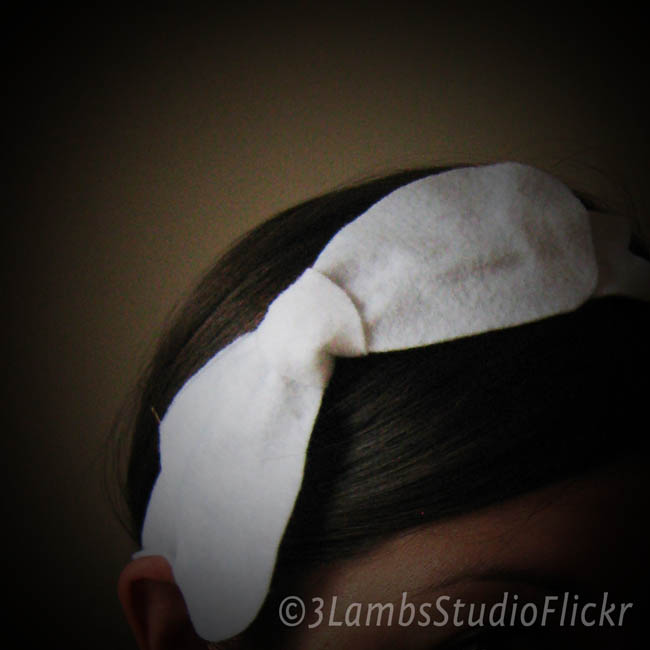
This easy 1940's-style hair bow fascinator tutorial was inspired by 1940's cloche hats that I've seen with bows curving around the front. I really love 40's clothing - it's one of my favorite styles!
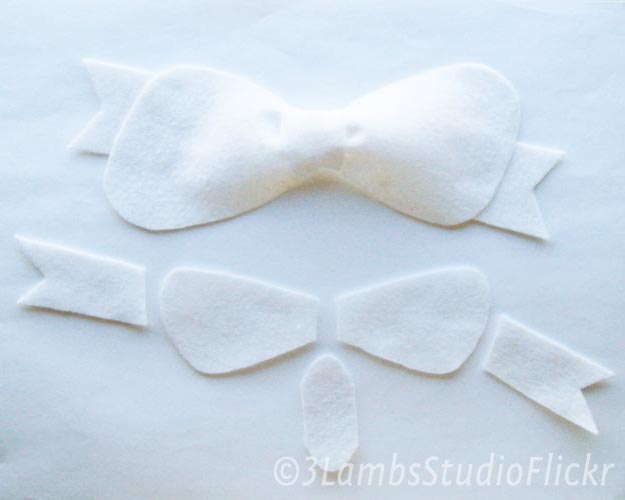
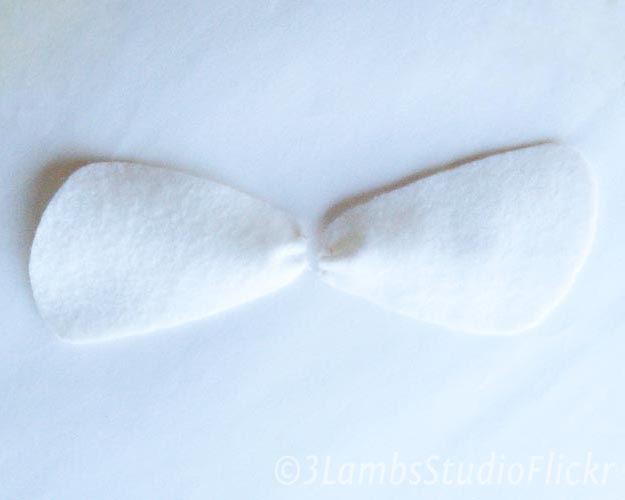
Here's the finished bow, with the pieces that you'll need displayed underneath. I used white felt, but feel free to choose whatever color you like. I then made a template using paper - one middle piece, one "loop", and one "notched ribbon". Use whatever ratios/sizes you like. You will want the middle piece to overlap when wrapped over your bow pieces at the back. That's why my middle piece is so much longer than the inner ends of the bow loops.
I cut out the pieces of the stencil, and then cut one middle piece, two loops, and two ribbons out of white eco felt. I decided later it would have been better to do one long ribbon piece instead with notched ends running under the bow, so you might want to switch to this as well (otherwise, the outlines of combs and headbands can show under the thin felt).
For the "loops" of the bow, I decided to go with an asymmetrical shape so I made one end longer. I cut two pieces of this shape, shown next to each other here. To give the bow more of a 1940's curvy look, however, I flipped one piece over. You can see this in the finished bow above the pieces. If the two sides of your felt aren't the same, remember to flip over the template before you cut the second piece.
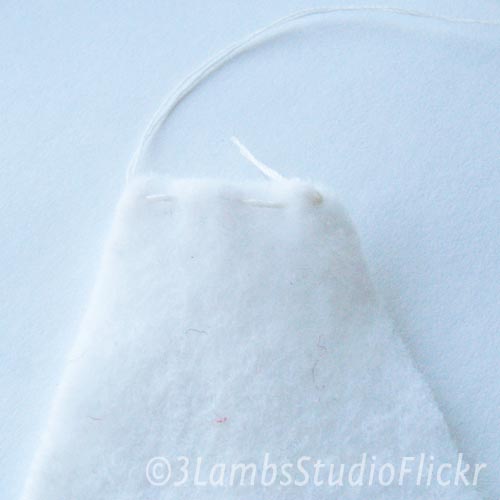
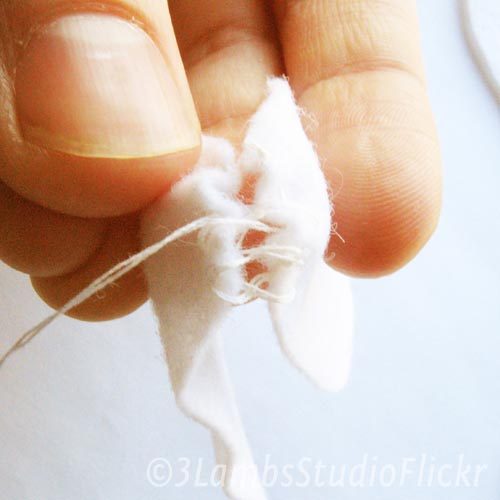
On the straight end of each loop piece, I did a running stitch with doubled cotton thread. Don't knot the end and cut it yet!
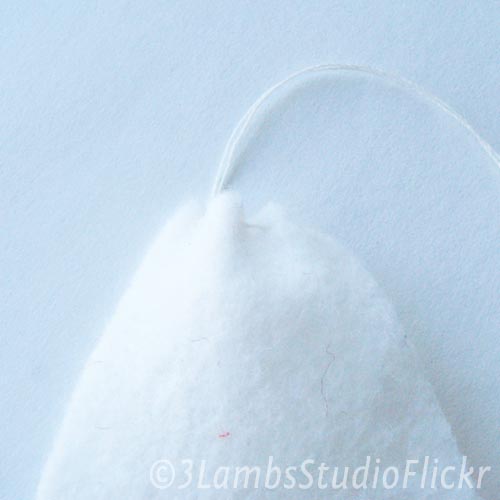
Before knotting and tying off my thread, I pulled it tight to "cinch" the ends. This gives the bow more dimension by making it pop up a bit. Then I stitched it to hold the cinch and knotted it.
I did this to both loops, and then lined them up next to each other. You can see how I flipped them to make them asymmetrical.
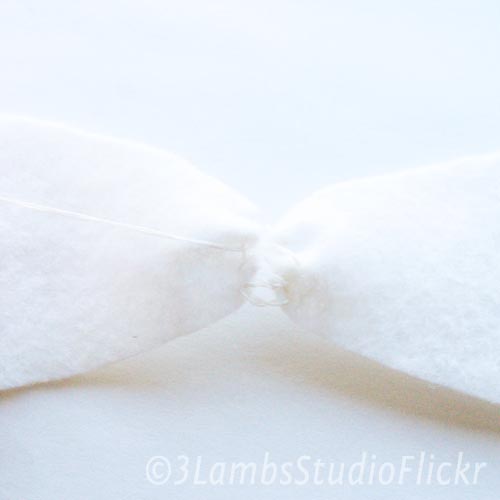
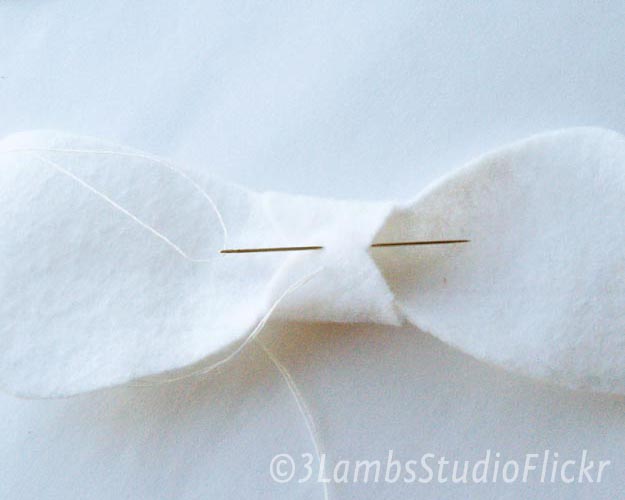
I used a slip-stitch (again, with doubled thread for strength) to sew the two pieces together. Bring the needle up through one piece, over to the other side, and then up again through the other side.
Here's a close-up of the slip-stitch. I left it loose here to show the stitches, but it's better to make the stitches tighter as you go (don't cinch them, though).
 |
Continue slip-stitching as you go,. Leave a much shorter tail than shown here when you're done, though! Whoops.
|

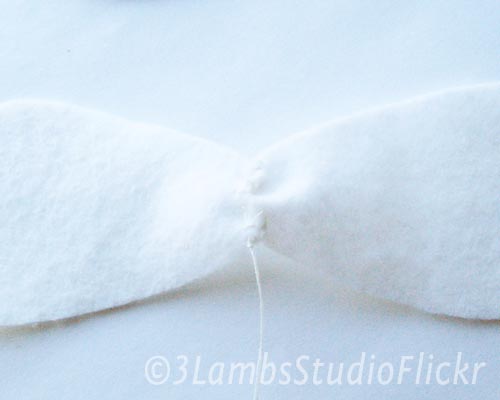
Wrap your middle piece around the joined loops. Bring your needle up through both pieces, and stitch a few times to hold.
As you stitch, try to catch some of the slip-stitches from below if you can, for a firmer hold and to keep the bow flatter on the bottom.
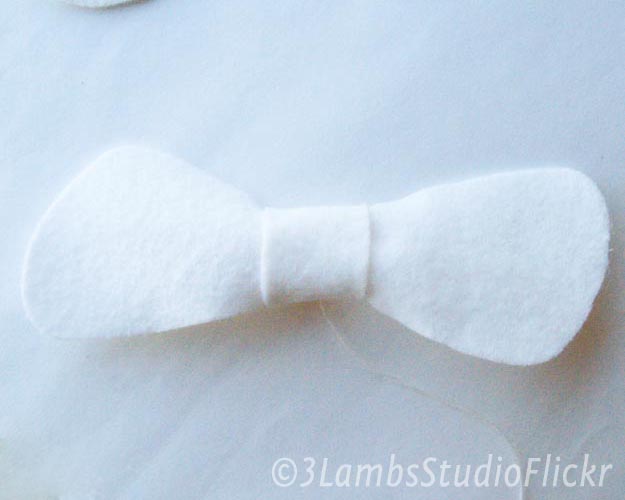
It should look like this when you flip it over. You can play with it a bit - move the middle piece around a bit (it's not stitched around the top, so it will wiggle a bit) or pop out the loops a bit more with your fingers. Just play with it until you're happy with it! Then trim any long thread ends so they're hidden.
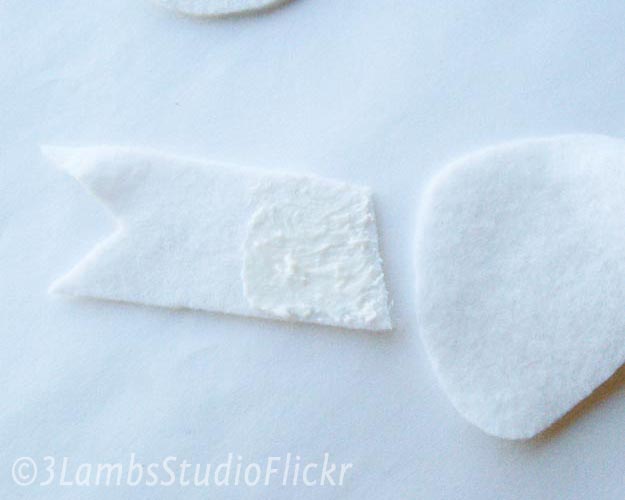
I didn't want visible stitches, so I used fabric glue to attach the notched ribbons. Like I said earlier, since felt can be thin, I think using one piece that goes all the way across would be better. It wouldn't show the outlines of a hair comb or headband like my original bow did. The end of the ribbon also may show through the felt if your fabric is thin.
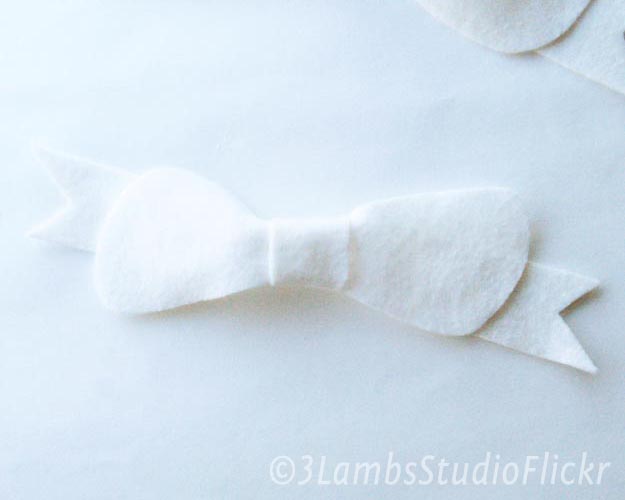
Here's the finished bow! I flipped the notched ribbon pieces like I did with the loops. I made a slightly longer triangle on one end as well, just for some added interest and detail.
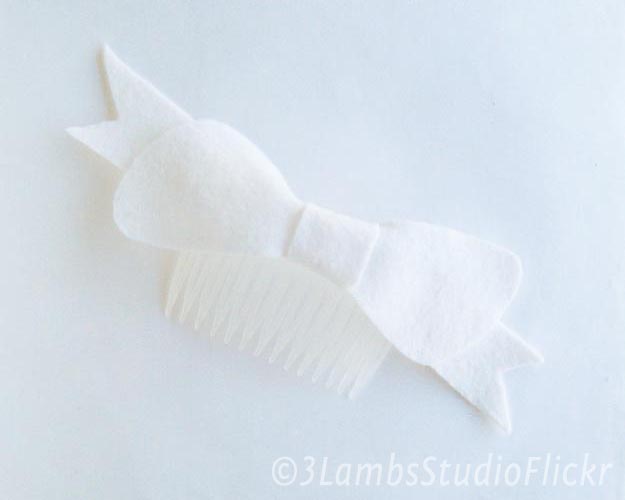
Here's the finished bow attached to a plastic hair comb. Again, I didn't want visible stitches, so I used strong glue made for plastic and fabric (just check the back of the bottle to make sure your glue is compatible). You could also glue it to a headband, as shown in the first picture of this tutorial. For placement on the band, put on the headband and then move the bow along it while looking in a mirror. I lined mine up so that it would end right before my ear, but you could place it higher if you wanted. Mark with chalk or something else, or just pinch it at the end spot with your fingers and take it off your head to mark.
Make your bow as big or as small as you like! I used a larger one for the headband, and a smaller one for this comb. You could also use fabrics other than felt, but you would have to hem the edges of each piece first. Just something to keep in mind, as it adds an extra step. A ditzy floral pink in pink and purple or a gingham check bow would be lovely for spring, though!
No comments:
Post a Comment