Showing posts with label craft project. Show all posts

June 1, 2016

DIY Spring/Summer Tulip Wreath


Just wanted to pop in and share this easy DIY tulip wreath I made using faux blooms from Michael's! I used 8 pink tulips and 5 white ones.

First, select a wreath form. I used a bent wire one for mine but grapevine would work too. Next, cut your flower stems to about 6 - 8 inches and strip off the leaves. This gives you enough to bend around the form to support the bloom, without having tons of extra that will bulk up the form. 

Arrange and stagger your stems around the form, wrapping with florist or other strong wire as you go. I finished with some white grosgrain ribbon wrapped so as to hide the wire, then glued at the beginning and end with Tacky Glue to secure it (the glued parts are hidden behind the bow at the bottom).


I used the discarded leaves to make a bow, bending them in half to form the loops (3 per side). I cinched the loop ends together and wrapped a thinner strip cut from a leaf around them to gather them together. I secured the middle strip with more glue, then glued two more thinner strips with notches cut into the ends hanging down as the bow's "ribbon" ends. When the bow was dried, I glued it to the wreath frame.

That's it! Simple and easy. You could substitute whatever flowers you like - peonies, roses, forsythia, wisteria, or poppies (one of my other favorite flowers!). Use lots of blooms or just a few, all one color or a mix of everything - the possibilities are endless!
 

February 12, 2013

1940's Style Hair Bow Fascinator DIY Tutorial


This easy 1940's-style hair bow fascinator tutorial was inspired by 1940's cloche hats that I've seen with bows curving around the front. I really love 40's clothing - it's one of my favorite styles!


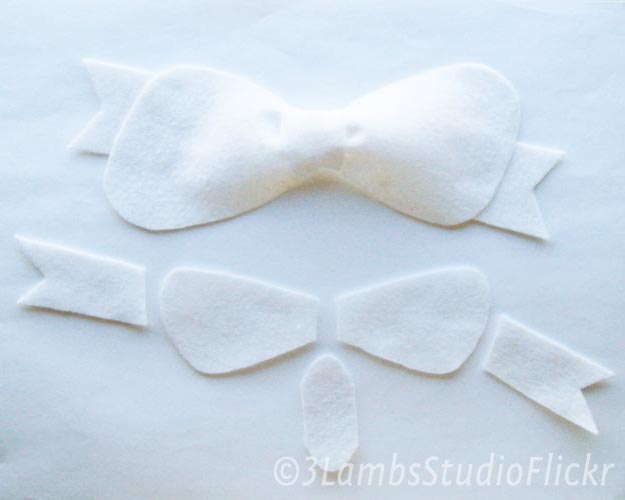
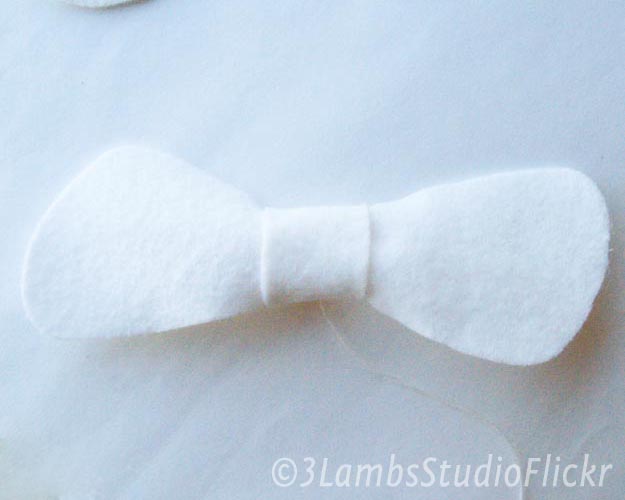
Here's the finished bow, with the pieces that you'll need displayed underneath. I used white felt, but feel free to choose whatever color you like. I then made a template using paper - one middle piece, one "loop", and one "notched ribbon". Use whatever ratios/sizes you like. You will want the middle piece to overlap when wrapped over your bow pieces at the back. That's why my middle piece is so much longer than the inner ends of the bow loops.

 I cut out the pieces of the stencil, and then cut one middle piece, two loops, and two ribbons out of white eco felt. I decided later it would have been better to do one long ribbon piece instead with notched ends running under the bow, so you might want to switch to this as well (otherwise, the outlines of combs and headbands can show under the thin felt).

For the "loops" of the bow, I decided to go with an asymmetrical shape so I made one end longer. I cut two pieces of this shape, shown next to each other here. To give the bow more of a 1940's curvy look, however, I flipped one piece over. You can see this in the finished bow above the pieces. If the two sides of your felt aren't the same, remember to flip over the template before you cut the second piece.


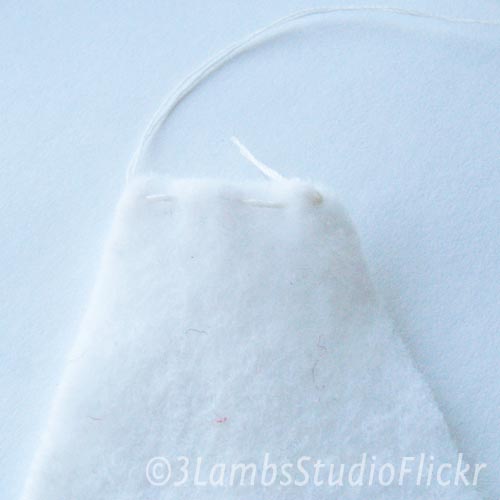
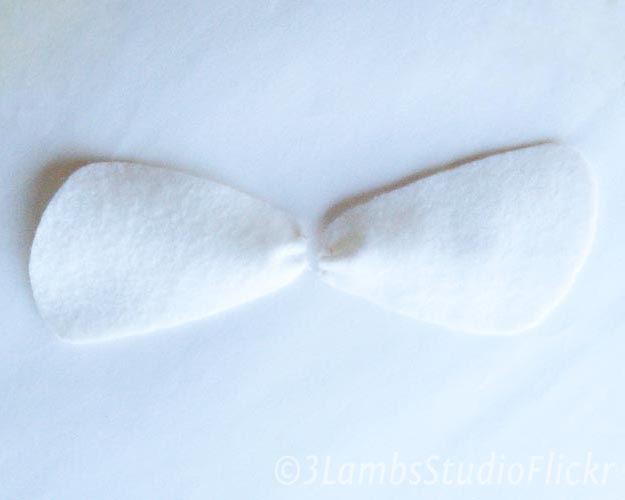
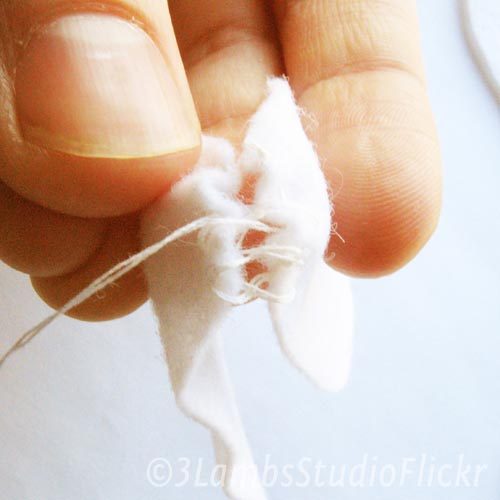
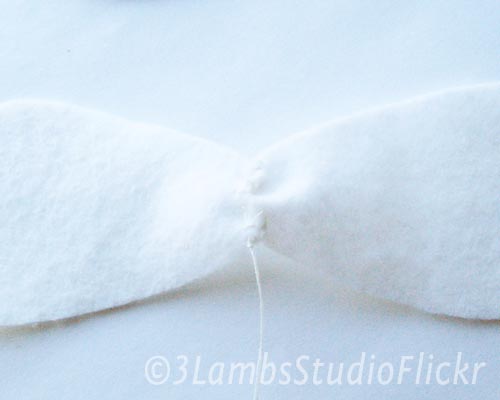
On the straight end of each loop piece, I did a running stitch with doubled cotton thread. Don't knot the end and cut it yet!


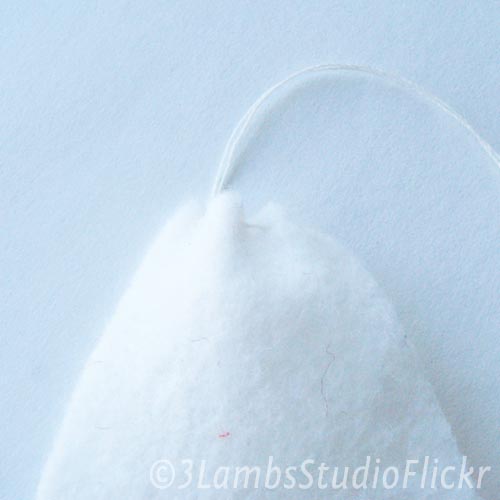
 Before knotting and tying off my thread, I pulled it tight to "cinch" the ends. This gives the bow more dimension by making it pop up a bit. Then I stitched it to hold the cinch and knotted it.


I did this to both loops, and then lined them up next to each other. You can see how I flipped them to make them asymmetrical.


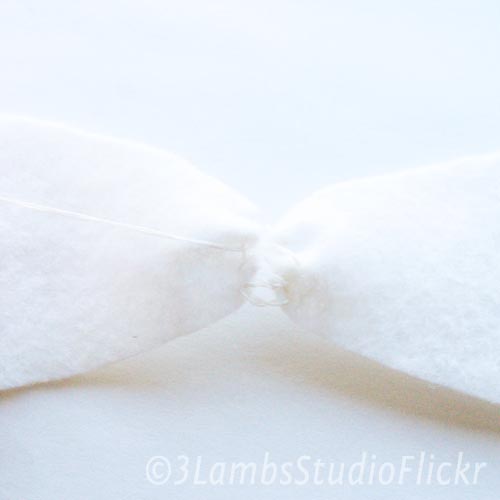
I used a slip-stitch (again, with doubled thread for strength) to sew the two pieces together. Bring the needle up through one piece, over to the other side, and then up again through the other side.


Here's a close-up of the slip-stitch. I left it loose here to show the stitches, but it's better to make the stitches tighter as you go (don't cinch them, though).


Continue slip-stitching as you go,. Leave a much shorter tail than shown here when you're done, though! Whoops.

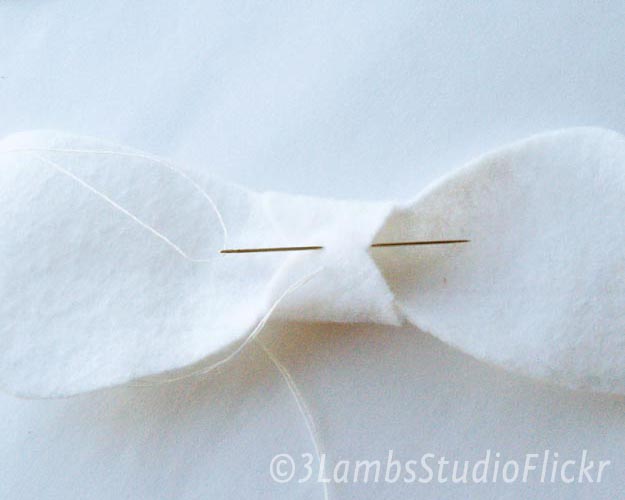
Wrap your middle piece around the joined loops. Bring your needle up through both pieces, and stitch a few times to hold.


As you stitch, try to catch some of the slip-stitches from below if you can, for a firmer hold and to keep the bow flatter on the bottom.


It should look like this when you flip it over. You can play with it a bit - move the middle piece around a bit (it's not stitched around the top, so it will wiggle a bit) or pop out the loops a bit more with your fingers. Just play with it until you're happy with it! Then trim any long thread ends so they're hidden.


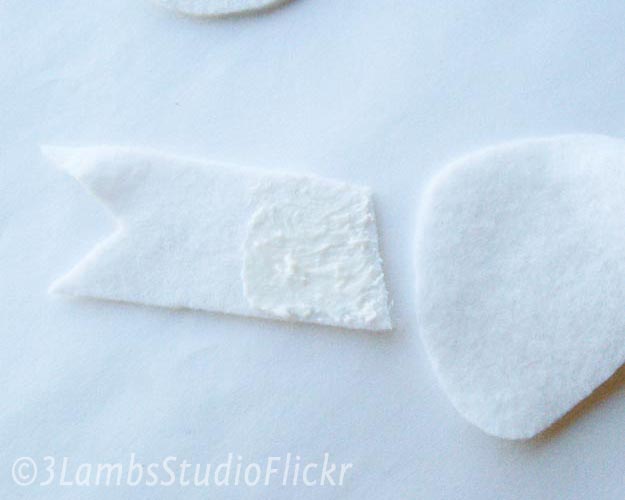
I didn't want visible stitches, so I used fabric glue to attach the notched ribbons. Like I said earlier, since felt can be thin, I think using one piece that goes all the way across would be better. It wouldn't show the outlines of a hair comb or headband like my original bow did. The end of the ribbon also may show through the felt if your fabric is thin.


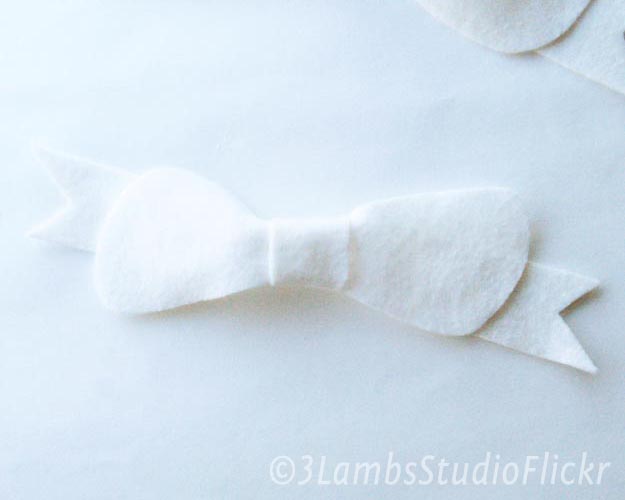
Here's the finished bow! I flipped the notched ribbon pieces like I did with the loops. I made a slightly longer triangle on one end as well, just for some added interest and detail.


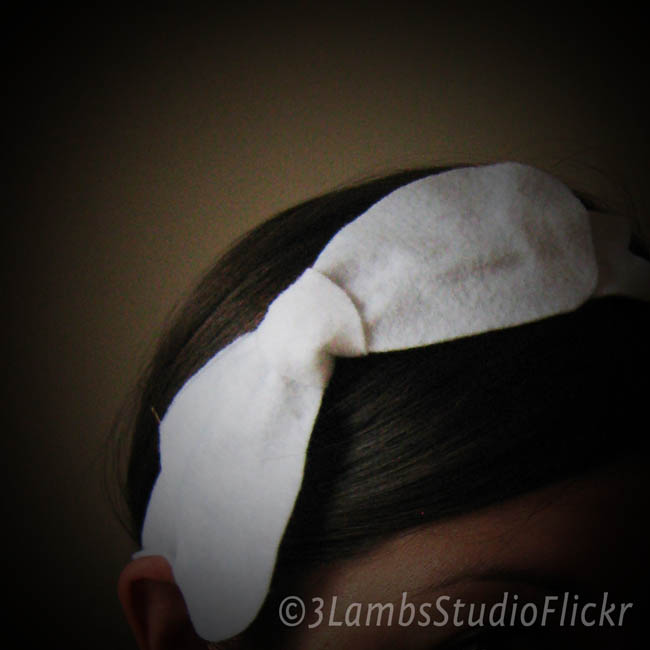
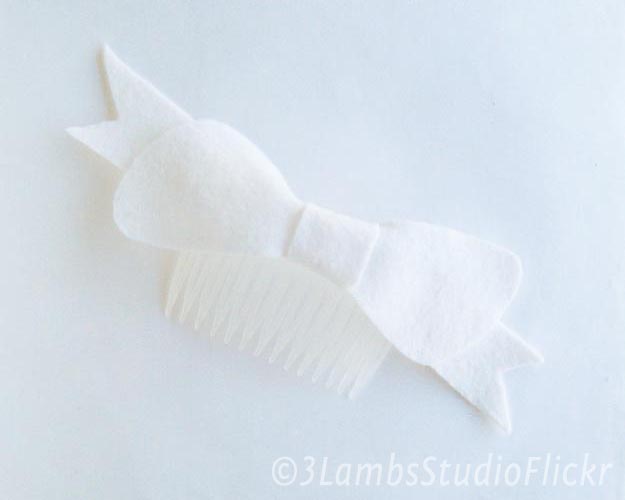
Here's the finished bow attached to a plastic hair comb. Again, I didn't want visible stitches, so I used strong glue made for plastic and fabric (just check the back of the bottle to make sure your glue is compatible). You could also glue it to a headband, as shown in the first picture of this tutorial. For placement on the band, put on the headband and then move the bow along it while looking in a mirror. I lined mine up so that it would end right before my ear, but you could place it higher if you wanted. Mark with chalk or something else, or just pinch it at the end spot with your fingers and take it off your head to mark.

Make your bow as big or as small as you like! I used a larger one for the headband, and a smaller one for this comb. You could also use fabrics other than felt, but you would have to hem the edges of each piece first. Just something to keep in mind, as it adds an extra step. A ditzy floral pink in pink and purple or a gingham check bow would be lovely for spring, though!

October 9, 2012

DIY Painted Patterned Stenciled Feathers


In this DIY tutorial, I'll show you how to easily and quickly stencil feathers in a variety of patterns using just a few materials that you can easily obtain!


You'll need feathers, Rub N Buff gold paint (or another paint in whatever color you like), a stiff brush for stenciling, and paper for making stencils.

I decided to repurpose some ho-hum feathers from a pair of earrings I bought for next to nothing, but you could also use regular feathers from a craft store. I liked these because they already have caps on the end, which makes it easier to turn them into jewelry again. You could also buy crimp caps and add the end yourself after they're painted.


Take your piece of paper, fold it in half if you're making a symmetrical pattern, and cut out a shape. Here, I cut out a line at a slant to make a chevron stripe.


Place your stencil over your feather.


I lined up the point in the middle of the stencil with the line going down the feather to make sure that it was centered.


Now it's time to paint! I put a piece of paper under the feather to keep the paint that might go through the individual plumes from staining my work surface. Wax paper works great for this as well. Then I squeezed out a little paint onto the paper, dipped the brush into it, and then stippled it (a hard up and down motion, like you're hitting the brush against the paint) on a different area to get off the excess paint. You don't want too much paint on the brush or it will seep under your stencil.

Then I stippled over my stencil with the brush, making sure I got nice even coverage of the uncovered area. If you need more paint, just reload your brush like you did initially. Make sure you hold your stencil down nice and flat and taut over the feather. This keeps the paint from going under the edges of the stencil.


Carefully remove your stencil and you should have a stripe that looks like this!


You can cut lots of different stencils to get different results. Here are a few that I did.


You can see the accompanying stencils I made for each feather here. From top to bottom: the chevron one already shown, a nice thick line (I painted this three times: two times to form an "x", and a final time down at the bottom with the stencil spilling over the edge), polka dots, and an argyle stripe.


For the polka dots, I used a hole punch to cut out circles in a random pattern. Then I just stenciled over each hole.


Here I reused the chevron stripe to make it a double.


A triple stripe looks nice as well!


I think this stencil was my favorite. First, I cut out a diamond shape, and stenciled this in the middle. Then, I cut out an "X", centered the stencil over the diamond (let it dry first), and carefully stippled it. The "X" had a lot of edges to hold down, so I went slowly and carefully to make sure it didn't bleed under the edges at all.

I think next I might try thin stripes stenciled into a gingham or plaid pattern, stars, triangles, or a combination of polka dots and stripes.

Let the feathers dry thoroughly, and then turn them into whatever kind of jewelry you like! Make matching (or even non-matching) ones for a pair of earrings, turn one into a pendant, or use different sizes for a string of feathers along a length of chain. You could put the biggest as the center pendant, with gradually-smaller ones on each side going back towards the clasp. You could also attach them to string or leather and then braid them into your hair for a Bohemian look! These would be great for making DIY Christmas presents as well.

October 28, 2011

Curly Purly Pumpkin Pattern


How cute is this knit pumpkin from Curly Purly? It's perfect for Halloween, and seems to knit up very quickly. All you need are double pointed needles, yarn, and something to stuff in the middle!

Get the free pattern and spin-off ideas from Curly Purly here.


You Might Also Like:

Related Posts Plugin for WordPress, Blogger...