
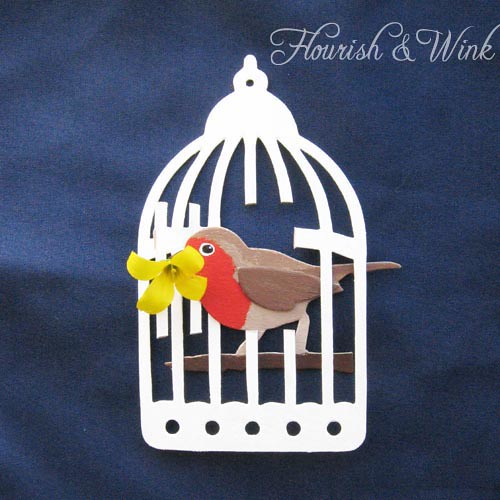
I had some chipboard birds and birdcages laying around that I'd bought on a whim (don't we all do that sometimes?...), so I decided to paint them in colorful acrylics and turn them into a crafty example of the birds and flowers in season right now.

I painted the chipboard birdcage white, for a clean background. It took two coats.

Then I cut a door with an X-acto knife, so the bird can stick out.Cut at the top, right side, and bottom, but leave the left side intact.
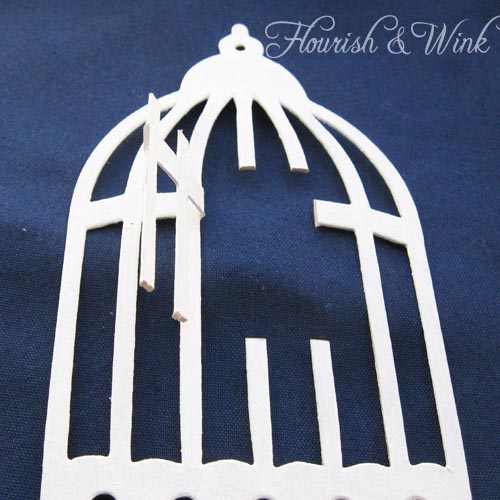
Here's another view of the door from the side. I just cut it and then gently bent it back.
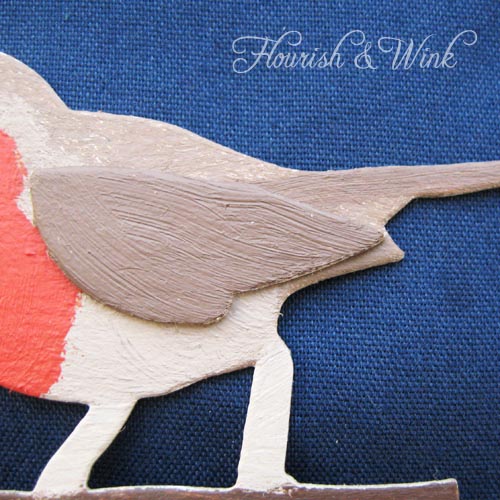
I used a photo of a real European robin, one of the first birds of spring, to get the coloring just right. I used a few different shades of brown on the tail and wing, shown here. The wing came separate, so I painted the pieces first and then glued the wing on with Tacky Glue.
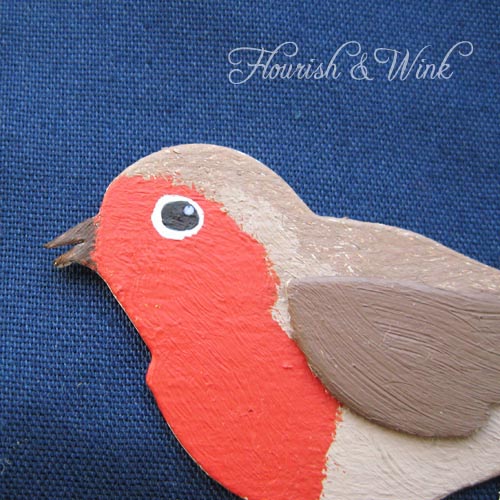
Here's a close-up detail of the bright, ruddy head. I included a white ring around the eyes, just like they have in real life. I made the red a bit on the orange side. It's more of a orange-red in nature than a pink-red.
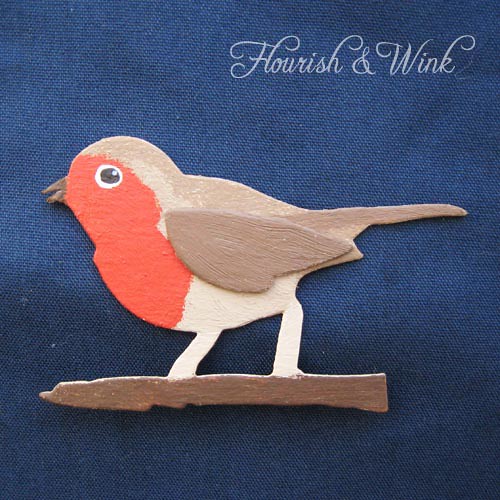
Here's the bird from beak to tail. The beak wasn't notched, so I used an Xacto knife to cut it as well. This way, it can hold a sprig.
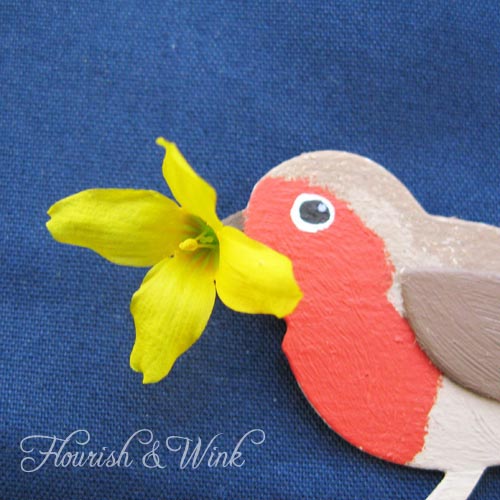
Forsythia bushes are one of my favorite flowers of early spring, so I snipped off a blossom from the ones in my backyard and tucked it into the beak. If you want the blossom to last, use a silk one instead.
I already have some ideas for May - maybe a chickadee (they hang around all year) with a cherry blossom? You'll have to stay tuned to see! This would also be a great mobile for a baby's room.
No comments:
Post a Comment