Showing posts with label spring flowers. Show all posts

March 28, 2016

My DIY Version of Purl Soho's Heirloom Wool Easter Eggs


Did you guys see Purl Soho's Heirloom Wool Easter eggs pattern? I thought they were nice, but I wanted a thinner version with more colorful flowers. So I decided to wing it and DIY my own.


I started by making a template out of paper. (Save this image, print out at whatever size you like, and use as a template for yours if you like it.)


I then cut twice the number of egg shapes as eggs I wanted to make out of plain white felt. You can use the good wool stuff, but I honestly prefer the polyester - it won't get eaten by moths or carpet beetles over time.

Then cut another template out of paper, but take about 3 - 4 mm off all around. Use this template to cut smaller egg shapes out of thin quilt batting, one per egg.

Then you can either hand-stitch these using blanket stitch, or use a sewing machine to sandwich the batting in between two egg felt shapes and stitch all the way around. If you look closely, I tried out a few different stitches for mine - a small zigzag, a wider zigzag, and some plain stitching. Make sure you catch the back piece of felt as you sew. You can use a walking foot if you have one, but I did these without it - I just went slowly.

Don't worry about it being perfect though! I had some spots where the back piece of felt stuck out from behind the top piece. Instead of redoing it, I either trimmed it with scissors or just put flowers over this spot.


Now for the decorating! I decided to make loops out of thin blue ribbon for hanging. I stitched them on the back side of the egg. (In retrospect, I should've sandwiched them in when I sewed the eggs, but oh well!)

Then I cut petals out of different colors of felt. Many flowers can be broken down into simple shapes. This pansy is just two bigger ovals, two medium ones, and a really big one that's almost pinched into a triangle at the top out of purple felt. Then cut two small ovals and another medium oval out of a contrasting color (here I used yellow). Then layer your petals as shown and stitch on using embroidery thread.


For this one, I drew a five-petaled flower, cut it out, and then turned it over so the pencil lines wouldn't show. If drawing isn't your thing, just do a basic five-pointed star then nip a bit more out of the petals near the center to give them a better shape. I layered a smaller flower over a larger one for the middle bloom. These were stitched on using pale pink embroidery thread and tiny stitches.


Violets are one of my favorite spring flowers! These are just two smaller ovals on top with three larger ovals on the bottom. I stitched the petals on with purple thread, then added bright yellow centers.


I got a little fancier with this one. It's just two purple cones and a larger pink oval for the pink hyacinth and purple grape hyacinths. I stitched little flower shapes in pink for the middle part, then just did lots of French knots (do a Google image search to find step-by-step tutorials!) for the side flowers.


Here you can see the other bluebells, abstract round flowers, and orange-centered daffodils one I made. Just play around with colors and your favorite blooms to customize these!

March 18, 2016

Spring's First Crocuses


My little guy and I like to go flower-watching while on our daily ramble. We'd been watching these crocuses for a few days, and finally caught them opening up one sunny morning this past week! The orange centers are so bright they almost look fake, and how beautiful are those subtle purple stripes inside? I'm definitely partial to the purple variety.


The way they're spread out and not very numerous makes me wonder how these came to be here. Did someone plant a lone bulb or two, or were they volunteers from the wind or animals? Either way, I'm glad we came across them.

I'm hoping to get out my sewing machine this weekend, in which case I'll have a DIY tutorial for you early next week - in time for Easter (hint, hint)!

February 29, 2016

Monday Musings


How was everyone's weekend? Don't be fooled by this photo (taken last spring back in Boston). It doesn't look like this here in Portland! Instead, it was cloudy and brisk here, despite the higher temps, so I spent a good deal of time dreaming of spring.

I can't wait for all the trees to be in blossom and for daffodils to peek their sunny yellow heads up from the flaxen grass. When you're in a new neighborhood or area and have never experienced spring there, you get to discover where all the unexpected tulips and crocuses and other flowers are hidden. I'm looking forward to getting out with the kidlet to see what we can find!

April 13, 2015

The Greenness of a New Spring


“That is one good thing about this world...there are always sure to be more springs.” 
― L.M. Montgomery, Anne of Avonlea


September 28, 2012

A Surprise Bloom


We've finally settled in after moving house (for me, it was the second move in less than 3 months!). The new neighborhood is full of greenery, a welcome departure from the concrete-heavy one we were in before.

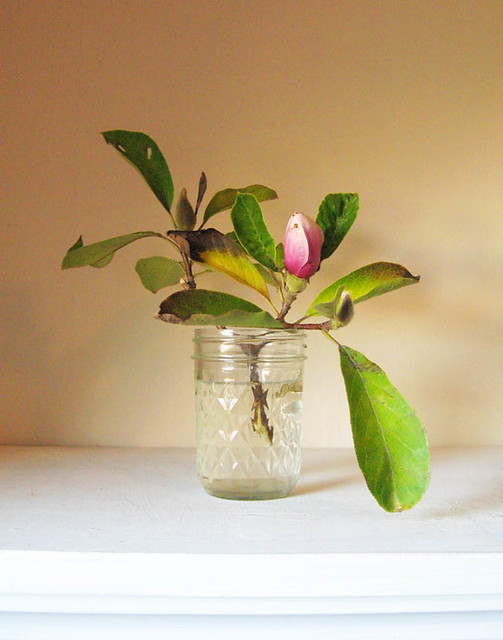
I wandered across this magnolia tree earlier this week. I did a double-take when I noticed it was in full bloom - in September! It must be in front of a dryer vent or have its roots wrapped around a hot water pipe.

I've seen a lot of almond and cherry trees in full bloom in the city in the middle of winter because of the aforementioned phenomenons, but I've never seen a magnolia before. I couldn't resist cutting off a blossom to bring inside. I'm waiting for it to open and gently perfume the room. I can't wait!

In other news, I have two new DIY projects in the works (painted feather jewelry and pumpkin lanterns) that will be posted within the next week to week-and-a-half, and an announcement about my shop (hint: a special sale just for my readers!) that will be in my next post. Keep an eye out!


April 27, 2012

DIY Painted Chipboard Bird and Birdcage with Seasonal Flowers


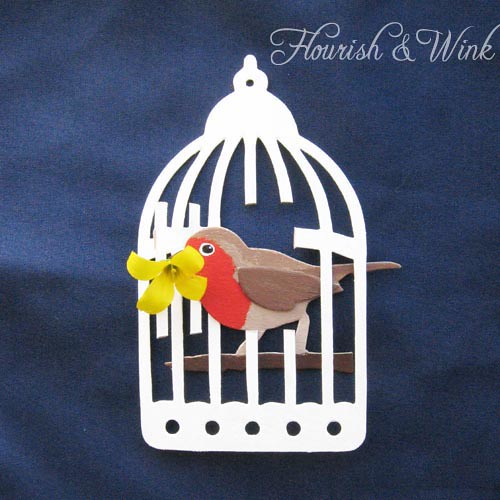
I had some chipboard birds and birdcages laying around that I'd bought on a whim (don't we all do that sometimes?...), so I decided to paint them in colorful acrylics and turn them into a crafty example of the birds and flowers in season right now.


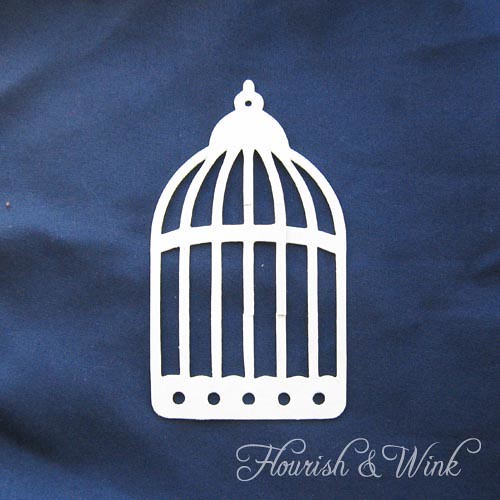
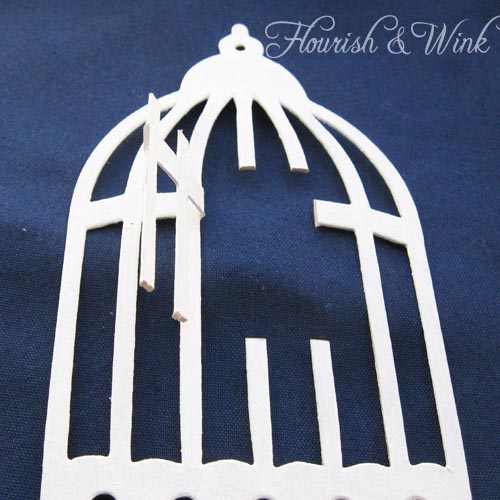
I painted the chipboard birdcage white, for a clean background. It took two coats.


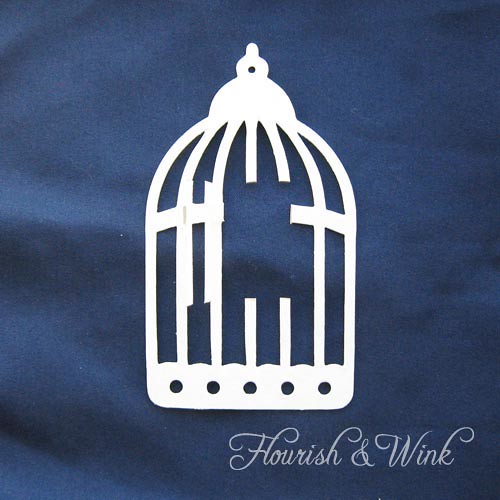
Then I cut a door with an X-acto knife, so the bird can stick out.Cut at the top, right side, and bottom, but leave the left side intact.


Here's another view of the door from the side. I just cut it and then gently bent it back.


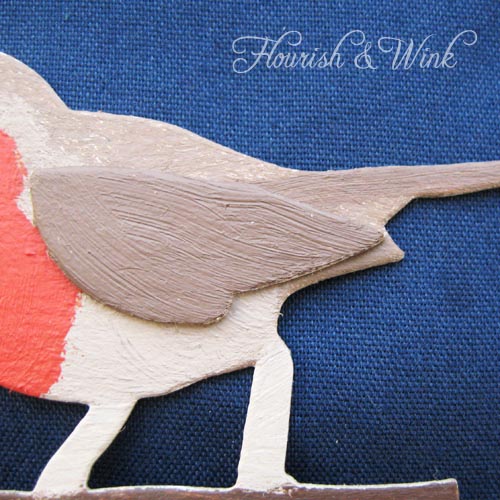
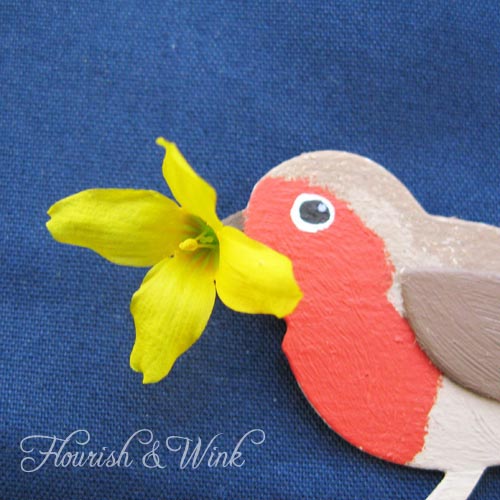
I used a photo of a real European robin, one of the first birds of spring, to get the coloring just right. I used a few different shades of brown on the tail and wing, shown here. The wing came separate, so I painted the pieces first and then glued the wing on with Tacky Glue.


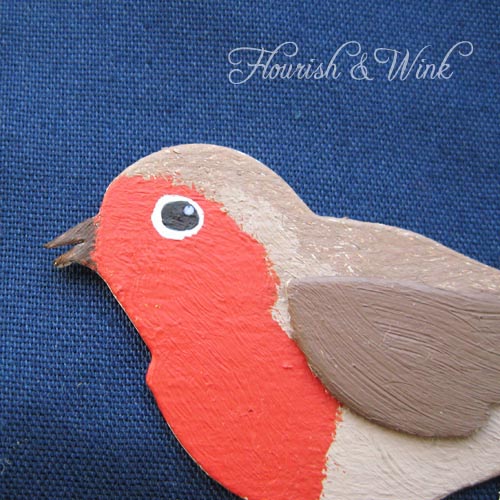
Here's a close-up detail of the bright, ruddy head. I included a white ring around the eyes, just like they have in real life. I made the red a bit on the orange side. It's more of a orange-red in nature than a pink-red.


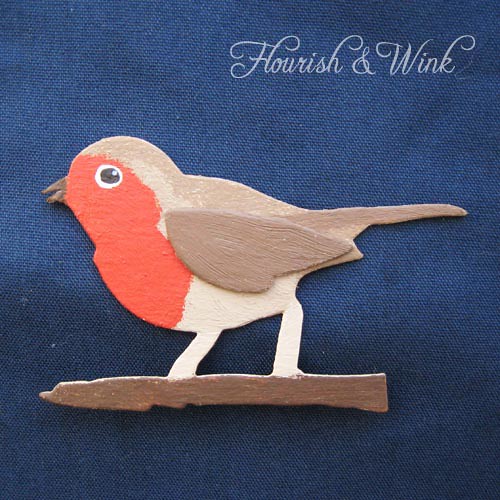
Here's the bird from beak to tail. The beak wasn't notched, so I used an Xacto knife to cut it as well. This way, it can hold a sprig.


Forsythia bushes are one of my favorite flowers of early spring, so I snipped off a blossom from the ones in my backyard and tucked it into the beak. If you want the blossom to last, use a silk one instead.

 I already have some ideas for May - maybe a chickadee (they hang around all year) with a cherry blossom? You'll have to stay tuned to see! This would also be a great mobile for a baby's room.

You Might Also Like:

Related Posts Plugin for WordPress, Blogger...