

I've shown these "mercury glass"-look candles in a few posts, so here's the tutorial! They come together really quickly, are versatile, and look pretty impressive (in my humble opinion, of course).
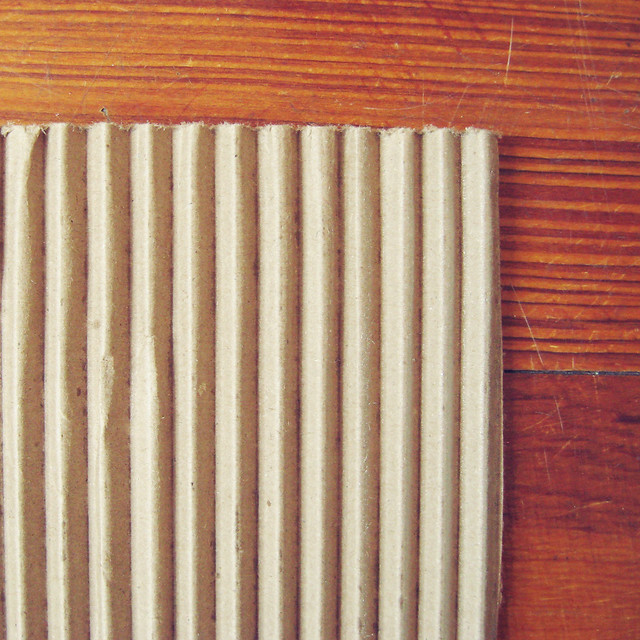
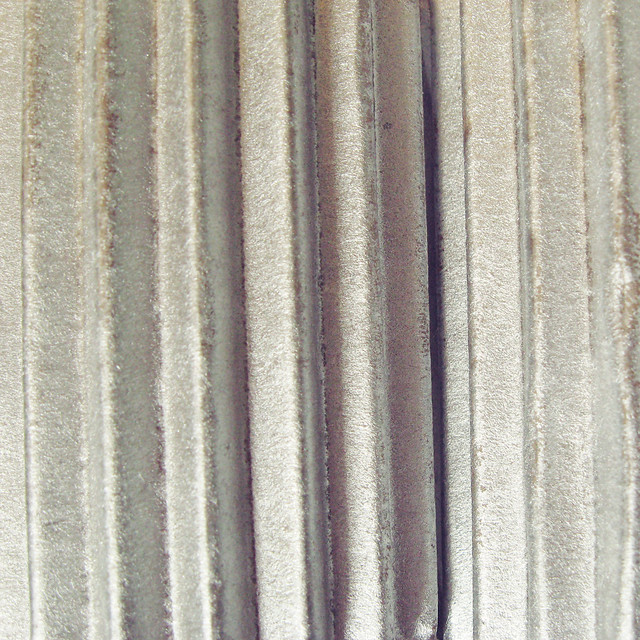
First, find some corrugated cardboard. I had this piece sitting around the house, but you can also purchase it online. It comes in quite a few colors. I think in the near future I'll be playing around with different shades to see if the colors come through the paint at all. Red and silver or blue and silver would be quite pretty! (I'll report back if I give it a whirl.)
I used a square foot or two. I figured if I was going to take the time to paint, I might as well do a larger area so I have more cardboard to play around with and use for projects. Use as much or as little as you like!
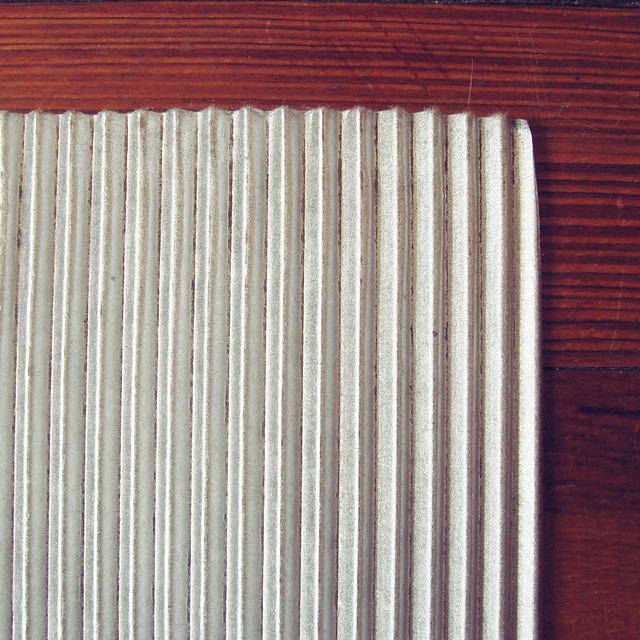
Next, grab some spray paint. "Looking glass" or mirror shades are great for mimicking mercury glass, but I've read about people having success with silver or even brass-toned shades. Basically, pick whatever you like at the store!
Follow the directions on the can. Especially about shaking the can long enough. And making sure the area is well-ventilated. I definitely did the latter from the get-go. The former? Not so much. It worked much better when I shook it as directed. I also used newspaper underneath so I didn't paint the dirt outside silver. (On second thought, it would have looked better if it was silver!)
My cardboard took about two to three coats. Just eyeball yours. If you like it thinner (say if you're using colored cardboard and want it to peek through), do thinner coats. If you want it thicker, do more. Make sure you do let it dry between coats so it doesn't just run everywhere, though.
After you've applied the last coat, let it dry thoroughly for a couple hours (or until completely dry to the touch).
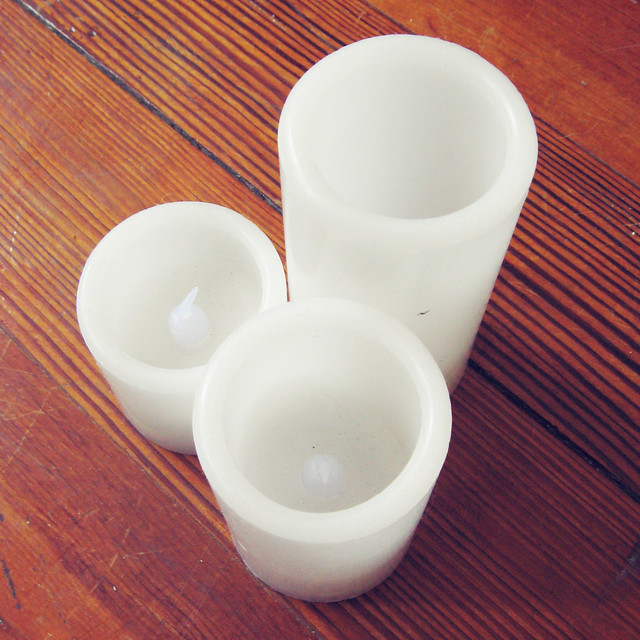
I used these flameless LED candles because I love not having to worry about smoke discoloring the ceiling, wax running everywhere, something catching on fire, etc. You can find them in home stores or online. Many even flicker realistically! I chose three pillar candles of different heights for interest.
This part is very whatever-works-for-you. I grabbed a candle and started rolling the cardboard around it to measure. That's the great thing about corrugated cardboard - it's very flexible. I allowed for a tiny bit of overhang - only about 1/8 to 1/4 of an inch. Not very scientific, but it worked for me! If you want to grab a tape measure, that would work just as well. Probably better, actually...
I decided to use double-sided tape to attach the "mercury glass" cardboard. That way, if I want to cover the candles with something else, I can just remove it! If you have an easier time making up your mind and committing to a permanent craft look than I do, go ahead and use a glue gun or strong glue.
I put a piece of tape down the length of the candle, and lined up one side of the sprayed cardboard so that it covered half of the tape. Then I wrapped the cardboard around the rest of the candle, and joined up the far edge so it covered the other half of the tape.
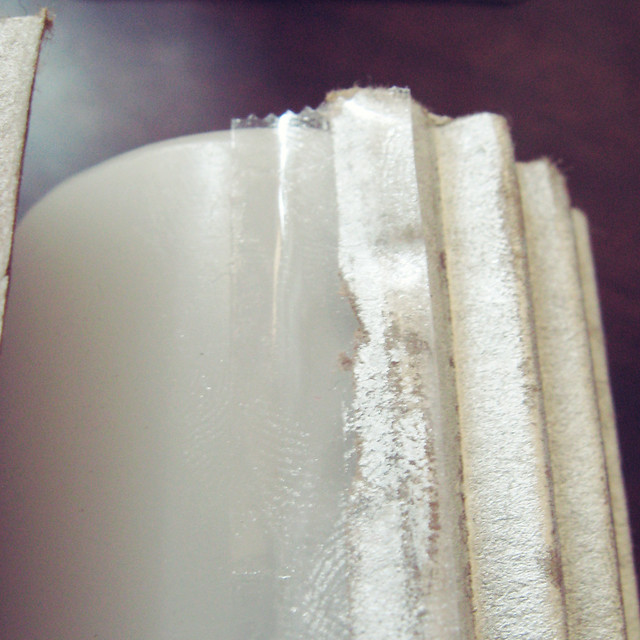
Here's my seam. I just turn the candle so the seam is at the back when I use it in a display. Cover the rest of your candles in the same way, and your faux mercury glass candles are done!
I made these candles quite some time ago, and the tape is still sticky and holding on the cardboard despite temperature and season changes (in case you were wondering how tape holds up).
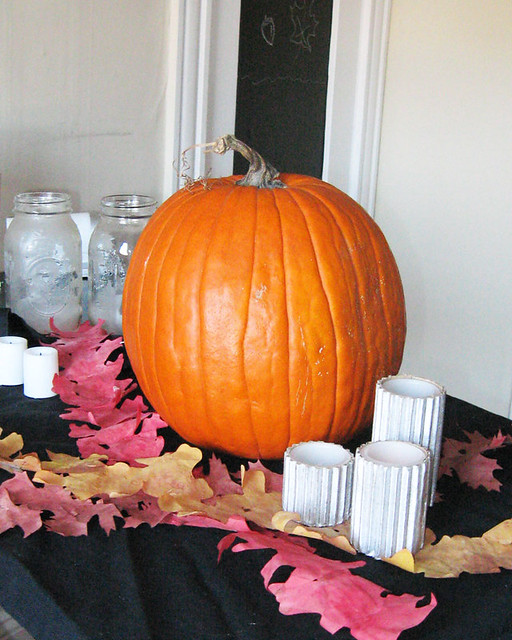
The candles are really versatile. I used them for a late fall/early Christmas display (first picture of this post), and here they are in a Halloween one. In the spring, I'll combine them with vases of daffodils or flowering branches. I think the silvery, mercury glass sheen will look lovely against the soft yellows, pinks, and whites. These candles would make great handmade gifts as well!
Just a note: if you don't want the cardboard color to peek through at the top of the candle (the top cut edge), use a silver Sharpie to cover it up. I left mine as-is because I liked the contrast, but go ahead and marker it if you want it to be all "mercury glass"! You could also glue on tiny rhinestones, pearls, or other beads to hide it.
That's it! Simple, inexpensive, and easy. Aren't those the best kinds of projects?
I'll be posting lots of quick, DIY decor ideas and gifts in the next few days, perfect for last-minute hostess or unexpected guest gifts! I'll post pics of my holiday decor soon as well. I might have gone a tad bit overboard on the DIYs...
Hope you're all having a wonderful holiday season so far!
No comments:
Post a Comment