Showing posts with label Christmas. Show all posts

January 14, 2015

DIY Spoolknit Candy Cane Ornament Decoration


I first introduced spool knitting on the blog in this post. I then promptly forgot about this craft for a few years.

Luckily, during a recent frantic I-really-REALLY-need-to-organize-all-my-craft-supplies session, I came across my knitting spool again and began to brainstorm.


I decided on a candy cane ornament, but didn't want to have to switch colors. So I used red & white baker's twine (widely available on the internet) to give the impression of swirling colors combined with the simplicity of only one strand.

I made my tube about 4.25" long, and cut a piece of heavy wire about an inch longer (so 5.25"). Then I threaded the wire into the center of the tube so it stuck out a half-inch on both ends. I folded each end back on itself about a half-inch so it resembled the outer edge of a paperclip, and pulled the tube up around the crook to cover it (you'll find your tube will stretch a bit, allowing you to do this). Next I threaded each string end (you'll have a tail from starting and ending the tube, one per end) onto a needle and stitched in and out of the tube - making sure to catch the wire - so the ends of the tube were firmly secured around and to the looped wire ends.

Then I simply bent one end until it had a good candy cane shape, threaded some yarn through the back of the top for a hanger, and hung it on my tree! You could also bend your wire before you thread it into your tube. I just thought this way might be a bit simpler. This is a pretty quick project. The wire part can be a bit fiddly at first, but you'll get the hang of it after you do it once. Subsequent candy canes are much easier and faster!

December 19, 2012

DIY Glittered Birds from the Dollar Store


Here's another quick and easy DIY project for the holidays: festive birds using inexpensive birds from the dollar store and colored glitter!


I bought a couple doves and cardinals from the local dollar store. They looked okay, but the feathers were a bit thin in places and they looked, well, cheap up-close. So I decided to fancy them up!

I brushed on Mod Podge with a small brush, doing small areas at a time. I put a piece of paper underneath the birds to catch glue drips and spills, and then carefully shook glitter over the glue-painted parts.

For the dove, I decided to do the wings first. Then I did the tail. Finally, I did the beak and feet. I used silver glitter (also from the dollar store, although more expensive German glass glitter would look even better!). I liked the way it contrasted with the white - it seems very Winter Wonderland-y to me!

I used red for the cardinal and covered everything except the black face mask and eyes. However, I only painted one area at a time so that the glue would not dry in places before I'd applied the glitter.


Voila! Here's what they look like from above. Try not to touch them too much after you sprinkle on the glitter. Give them an initial tap or two to get off the excess (and pour it back into the container so as not to waste it), but then let them dry thoroughly. After they've dried, if some areas need more glitter, carefully dab on more glue and shake on glitter again. Repeat until you get the desired effect.

At this point, you have two options. You can leave them as is and when you go to use them, you might get glitter on nearby surroundings as tiny pieces come loose. Or, you can seal the glitter. I recommend the latter! (Side note: also great for DIY glittered heels, gift tags, ribbons, fascinators, etc.)

You have quite a few choices: pastel or charcoal fixatives, acrylic spray sealants, Mod Podge (might take off glitter when you brush it on, though), or other glue-type sprays. I'm going to try an Elmer's version. I'll report back and let you know how it works once I've applied it. Whatever you use, make sure you follow the directions on the can/container!

These have wired feet, so you can turn them into ornaments for the tree after they've dried. They'd also look great tucked into Advent wreaths, Christmas wreaths, garlands, or on top of presents (for very lucky recipients!).

I still have a few of these birds leftover. I might make the dove light pink or yellow for Easter, and do the cardinal in blue (so it looks like a Blue Jay) or another bright color for the summer. Just change your glitter color to match the season!

What would you use these for? Any other ideas?


Faux Mercury Glass Candleholders


I've shown these "mercury glass"-look candles in a few posts, so here's the tutorial! They come together really quickly, are versatile, and look pretty impressive (in my humble opinion, of course).


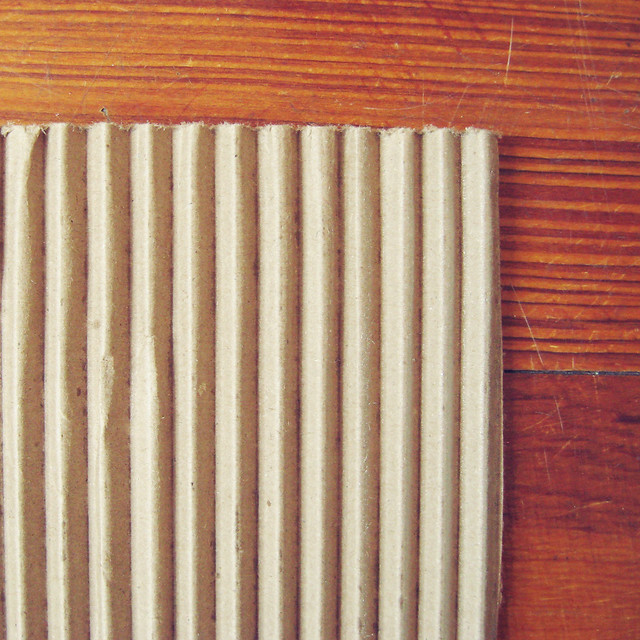
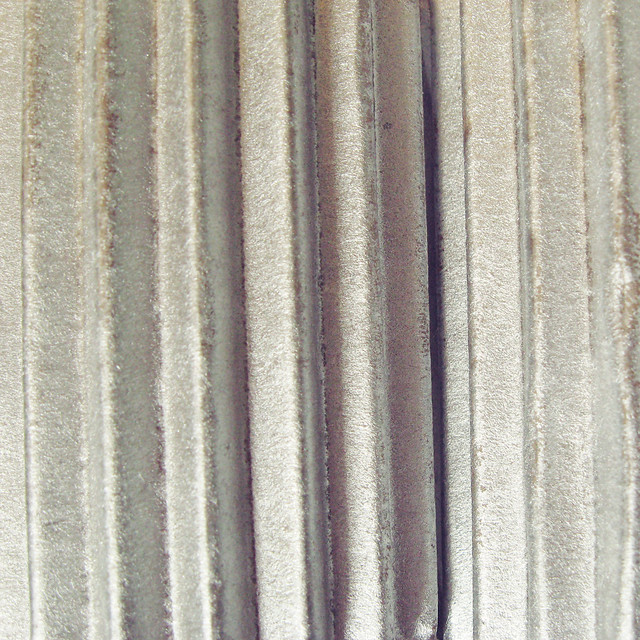
First, find some corrugated cardboard. I had this piece sitting around the house, but you can also purchase it online. It comes in quite a few colors. I think in the near future I'll be playing around with different shades to see if the colors come through the paint at all. Red and silver or blue and silver would be quite pretty! (I'll report back if I give it a whirl.)

I used a square foot or two. I figured if I was going to take the time to paint, I might as well do a larger area so I have more cardboard to play around with and use for projects. Use as much or as little as you like!


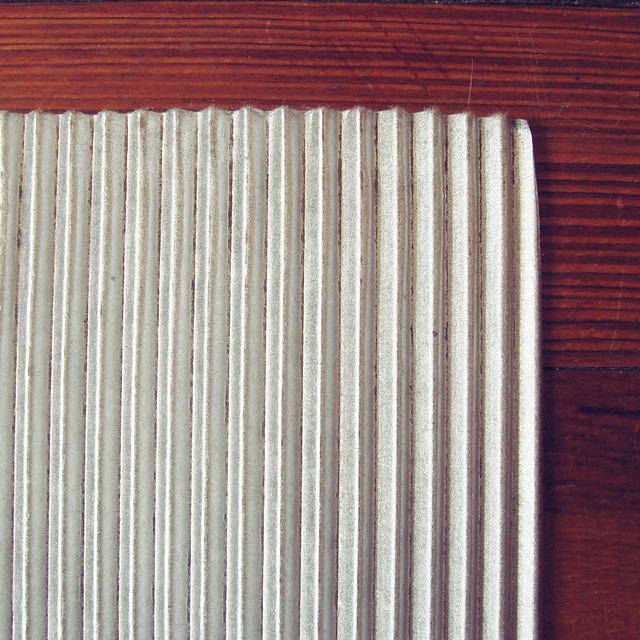
Next, grab some spray paint. "Looking glass" or mirror shades are great for mimicking mercury glass, but I've read about people having success with silver or even brass-toned shades. Basically, pick whatever you like at the store!

Follow the directions on the can. Especially about shaking the can long enough. And making sure the area is well-ventilated. I definitely did the latter from the get-go. The former? Not so much. It worked much better when I shook it as directed. I also used newspaper underneath so I didn't paint the dirt outside silver. (On second thought, it would have looked better if it was silver!)

My cardboard took about two to three coats. Just eyeball yours. If you like it thinner (say if you're using colored cardboard and want it to peek through), do thinner coats. If you want it thicker, do more. Make sure you do let it dry between coats so it doesn't just run everywhere, though.

After you've applied the last coat, let it dry thoroughly for a couple hours (or until completely dry to the touch).


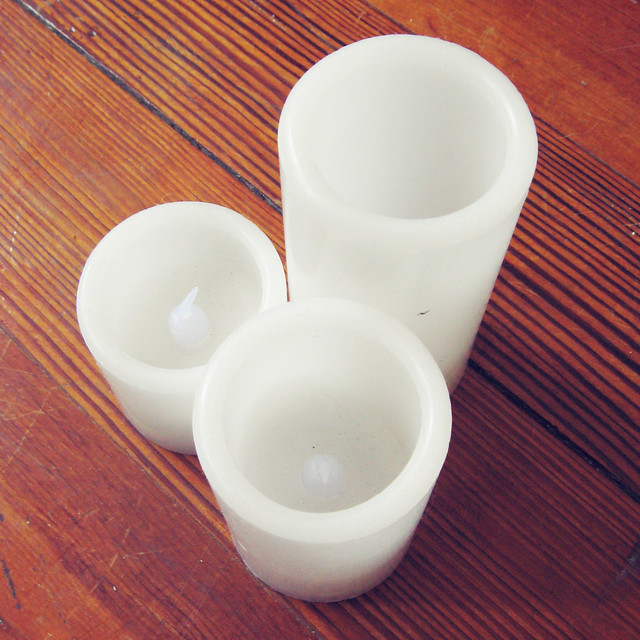
I used these flameless LED candles because I love not having to worry about smoke discoloring the ceiling, wax running everywhere, something catching on fire, etc. You can find them in home stores or online. Many even flicker realistically! I chose three pillar candles of different heights for interest.


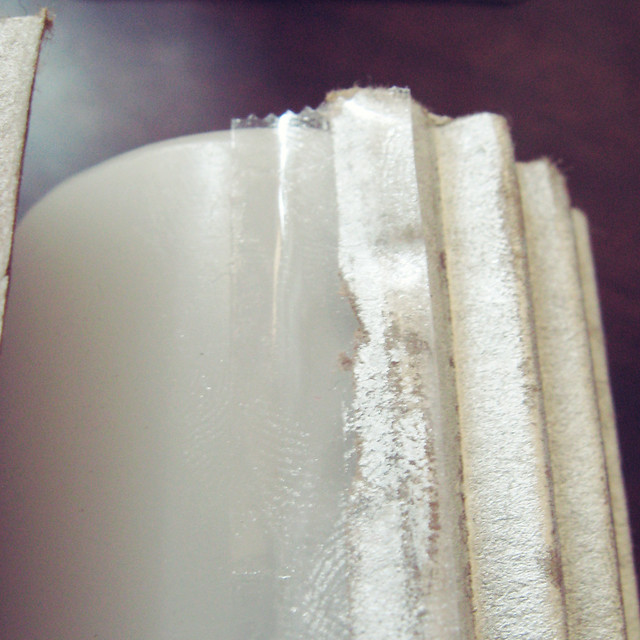
This part is very whatever-works-for-you. I grabbed a candle and started rolling the cardboard around it to measure. That's the great thing about corrugated cardboard - it's very flexible. I allowed for a tiny bit of overhang - only about 1/8 to 1/4 of an inch. Not very scientific, but it worked for me! If you want to grab a tape measure, that would work just as well. Probably better, actually...

I decided to use double-sided tape to attach the "mercury glass" cardboard. That way, if I want to cover the candles with something else, I can just remove it! If you have an easier time making up your mind and committing to a permanent craft look than I do, go ahead and use a glue gun or strong glue.

I put a piece of tape down the length of the candle, and lined up one side of the sprayed cardboard so that it covered half of the tape. Then I wrapped the cardboard around the rest of the candle, and joined up the far edge so it covered the other half of the tape.


Here's my seam. I just turn the candle so the seam is at the back when I use it in a display. Cover the rest of your candles in the same way, and your faux mercury glass candles are done!

I made these candles quite some time ago, and the tape is still sticky and holding on the cardboard despite temperature and season changes (in case you were wondering how tape holds up).


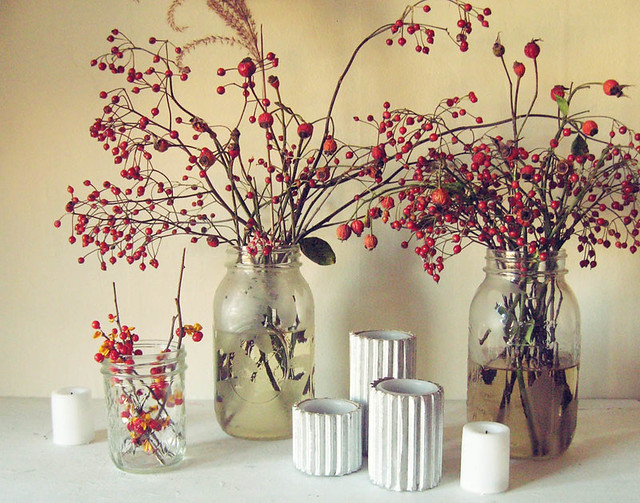
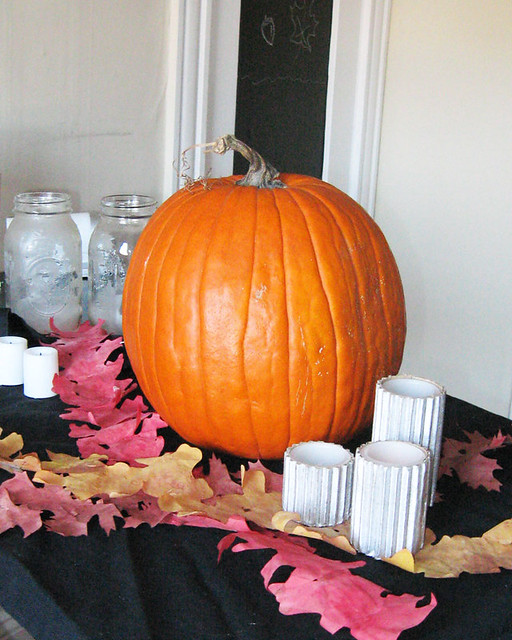
The candles are really versatile. I used them for a late fall/early Christmas display (first picture of this post), and here they are in a Halloween one. In the spring, I'll combine them with vases of daffodils or flowering branches. I think the silvery, mercury glass sheen will look lovely against the soft yellows, pinks, and whites. These candles would make great handmade gifts as well!

Just a note: if you don't want the cardboard color to peek through at the top of the candle (the top cut edge), use a silver Sharpie to cover it up.  I left mine as-is because I liked the contrast, but go ahead and marker it if you want it to be all "mercury glass"! You could also glue on tiny rhinestones, pearls, or other beads to hide it.

That's it! Simple, inexpensive, and easy. Aren't those the best kinds of projects?

I'll be posting lots of quick, DIY decor ideas and gifts in the next few days, perfect for last-minute hostess or unexpected guest gifts! I'll post pics of my holiday decor soon as well. I might have gone a tad bit overboard on the DIYs...

Hope you're all having a wonderful holiday season so far!


January 4, 2011

The Past Couple Weeks


The past couple weeks have been composed of:

*putting up the tree (despite me being allergic to them...I still insist on a real one)

*disastrous holiday baking attempts (I think my new measuring cups aren't standardized - oh no!)

*romps with the pup through the 17" of snow we got from a Boxing Day blizzard

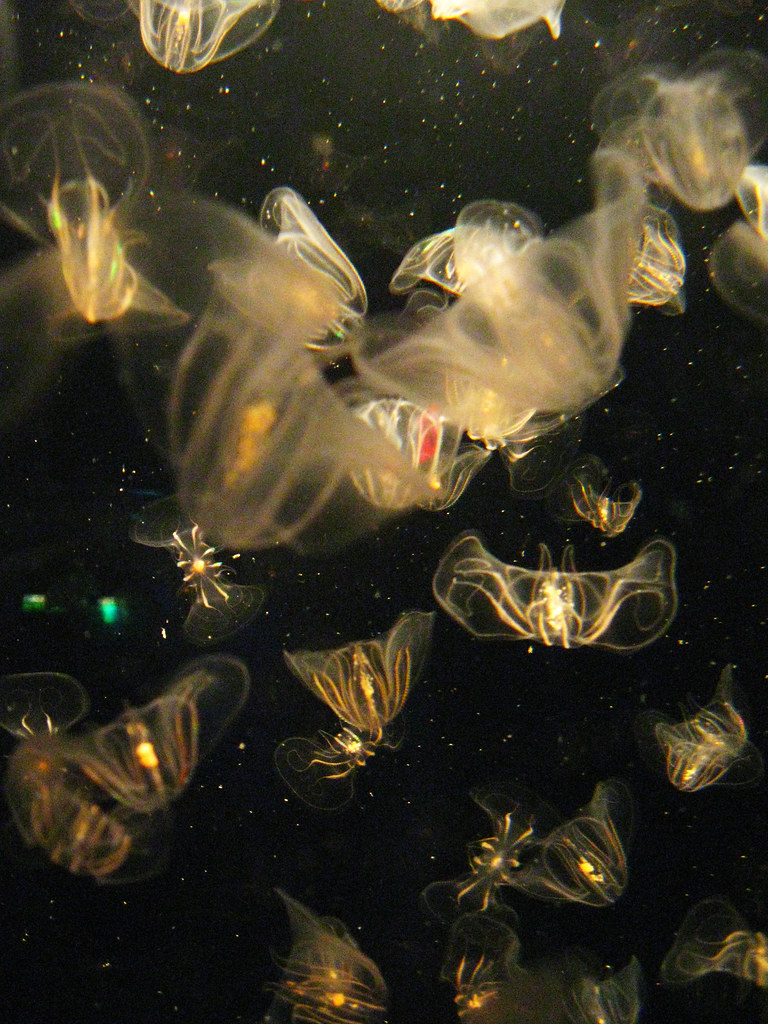
*a trip to the New England Aquarium (which is where the above photo of Leidys Comb jellyfish was taken)

*classic - and amazing - cocktails at Eastern Standard, my favorite restaurant in Boston

*taking down the tree

*making New Year's Resolutions, both for myself and for my shop/business

What have you been up to?

December 14, 2010

Stamped Christmas Cookies


I can't believe ordinary rubber stamps created these unique and beautiful Christmas sweets! I've been looking for a way to decorate sugar cookies that is quick yet still lovely, and this hits the nail on the head. I can't bear to elaborately decorate each with icing and colored sugar and nonpareils, knowing they will be destroyed in 3 seconds with 2 big bites!

(Via Woof Nanny.)

November 29, 2010

Free Shipping!


My Cyber Monday deal has ended, but you can still get free domestic shipping (and discounted international shipping) in my store through the end of this week.

I'll also be adding new items in the coming weeks, just in time for the holidays! Click here to visit the shop.

November 4, 2010

Gifted Magazine by Creature Comforts


The new Gifted magazine by Creature Comforts is now available online! It features great holiday tips from well-known bloggers such as Ellie Snow from Mint, Jena Coray from Modish, Cassandra Lavalle from Coco + Kelley, Victoria Smith by SFGirlByBay, and many more. It's also chock-full of diy projects and gift ideas for everyone on your list!

December 23, 2009

Happy Holidays


Well, I had grand plans for a vintage-themed holly garland, followed by more holiday projects.

Then, I got a cold. And spent the next week blowing my nose non-stop and trying to put one foot in front of the other and finish all my holiday orders in time for Christmas. (Don't worry, I washed my hands, promise!)

However, all is not lost! I made an easy, simply red foil garland today. I'll be posting pictures and a how-to (and I'll get around to that holly project at some point too!).

I hope your holidays are going well so far!

December 15, 2009

Last-Minute Gifts


Need last-minute holiday gifts? I've added "Ready to Ship" prints to my store, perfect for those still doing Christmas shopping!

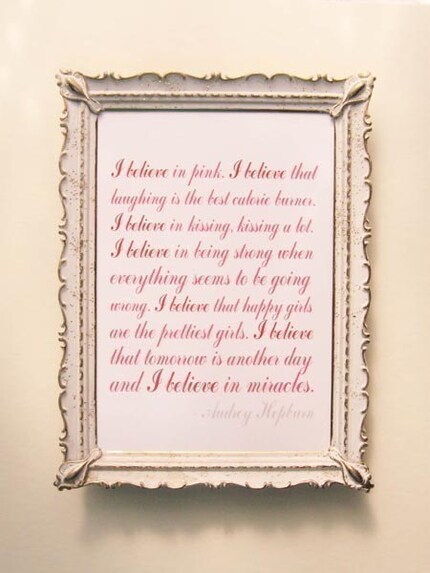
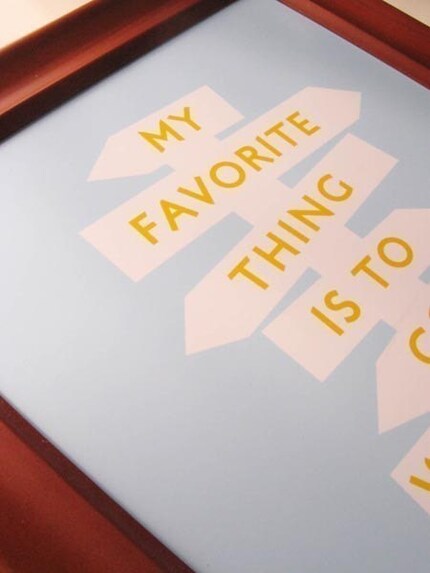
Ready to go pieces include the popular "I Believe in Pink" quotes, and the parody "Keep Calm and Conjure a Patronus Charm" in red. Prints can also be sent right to the recipient with a gift tag, free of charge - just ask!

See more "Ready to Ship" prints here.

Holly garland project coming Thursday!

December 8, 2009

Free Gift Tags!


No matter how old I get, there's always at least one present signed "From: Santa" under the Christmas tree.

In the spirit of this memory, I created these "From: Santa" gift tags featuring jolly vintage Kris Kringles. Simply right click and "Save As", then print as wallet-sized.

Enjoy!

(You may do whatever you wish with these tags, however, you may not redistribute them without crediting me and you may not sell them as is in any way, shape, or form.)

You Might Also Like:

Related Posts Plugin for WordPress, Blogger...