Showing posts with label cheap DIY. Show all posts

May 2, 2013

Spring Celebrations - DIY Ideas


Sunny days and warmer nights mean it's spring party season! I've collected a few of my current favorite DIY party ideas for easy, brightly colored birthday parties, showers, or get-togethers.

First up are these fringed paper garlands from Mint Love Social Club. They couldn't be simpler! You just cut several layers of a triangle pattern from tissue paper, cut them so they're fringed, then seal the layers together at the top with a seam of metallic tape, binding, or ribbon (if using ribbon or binding, glue in place instead).


These little "oranges" from The Cinderella Project are just scoops of sorbet (store-bought is fine, but you could also make your own) with a clove and two edible leaves poked into the top so they look like citrus fruits. For the leaves, something like mint or lemon balm would work well and complement the flavor of the sorbet.


This larger-than-life crepe paper rose reminds me of Alice in Wonderland! It's from Green Wedding Shoes, via Mon Carnet. I think a few of these would look lovely hung over a table of treats, or strewn across a gifts table. You could also arrange several on a mantle for a lush botanic look.


Let's face it, seating can be one of the hardest things to arrange for a party. Keeping enough chairs around the house for all potential guests without cluttering your space is difficult, renting chairs gets expensive, and using regular inexpensive folding chairs can be, well, ugly. Luckily, The Moon and Me has a really helpful and easy tutorial on how to repaint folding chairs and turn them into these lovely, candy-colored versions instead!

To see more DIY party ideas, check out my DIY Party Tricks board on Pinterest. You can also follow my other boards on Pinterest here!

December 19, 2012

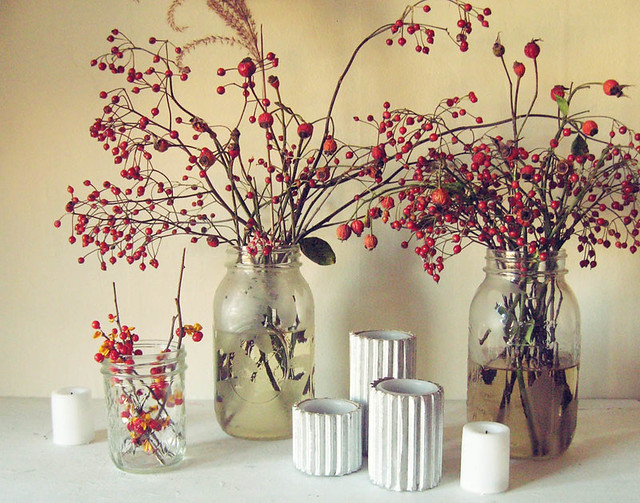
Faux Mercury Glass Candleholders


I've shown these "mercury glass"-look candles in a few posts, so here's the tutorial! They come together really quickly, are versatile, and look pretty impressive (in my humble opinion, of course).


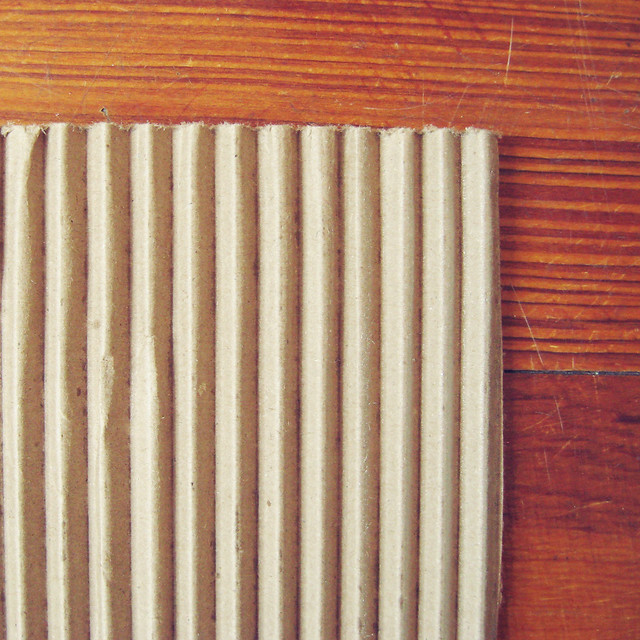
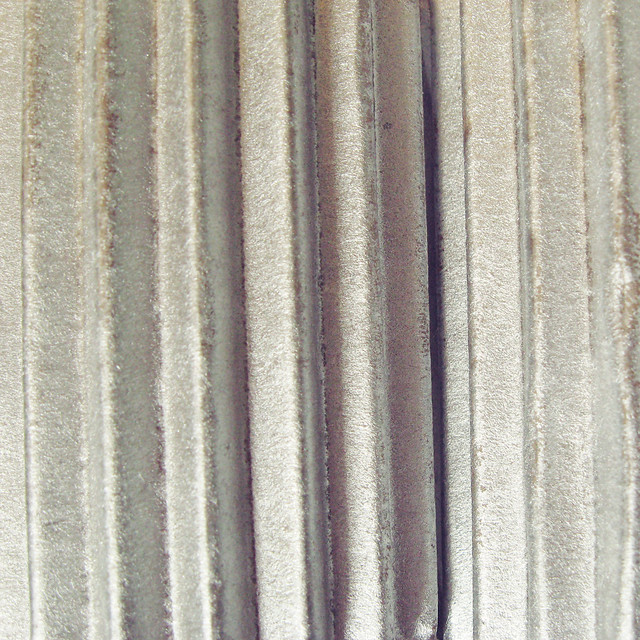
First, find some corrugated cardboard. I had this piece sitting around the house, but you can also purchase it online. It comes in quite a few colors. I think in the near future I'll be playing around with different shades to see if the colors come through the paint at all. Red and silver or blue and silver would be quite pretty! (I'll report back if I give it a whirl.)

I used a square foot or two. I figured if I was going to take the time to paint, I might as well do a larger area so I have more cardboard to play around with and use for projects. Use as much or as little as you like!


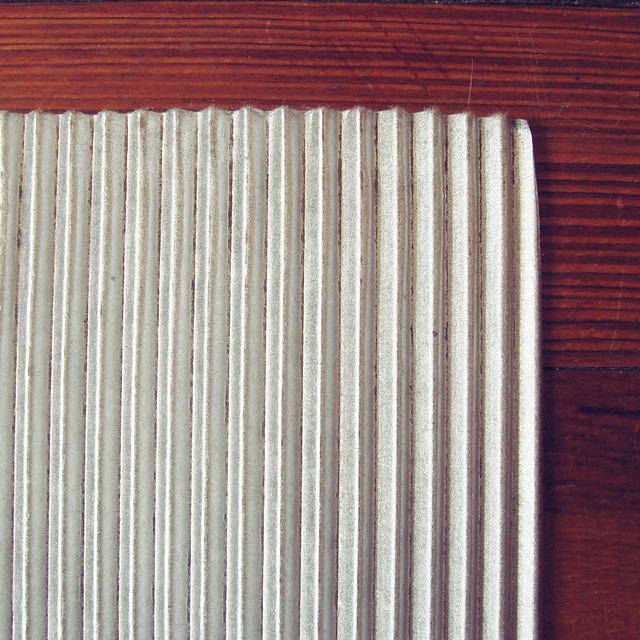
Next, grab some spray paint. "Looking glass" or mirror shades are great for mimicking mercury glass, but I've read about people having success with silver or even brass-toned shades. Basically, pick whatever you like at the store!

Follow the directions on the can. Especially about shaking the can long enough. And making sure the area is well-ventilated. I definitely did the latter from the get-go. The former? Not so much. It worked much better when I shook it as directed. I also used newspaper underneath so I didn't paint the dirt outside silver. (On second thought, it would have looked better if it was silver!)

My cardboard took about two to three coats. Just eyeball yours. If you like it thinner (say if you're using colored cardboard and want it to peek through), do thinner coats. If you want it thicker, do more. Make sure you do let it dry between coats so it doesn't just run everywhere, though.

After you've applied the last coat, let it dry thoroughly for a couple hours (or until completely dry to the touch).


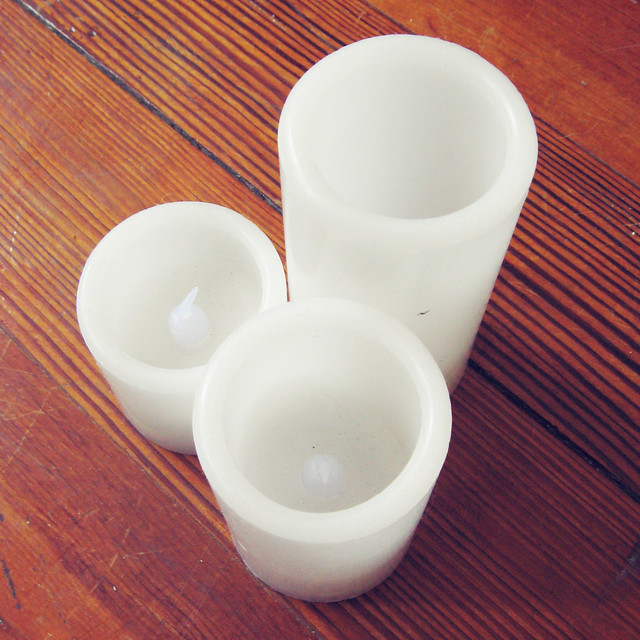
I used these flameless LED candles because I love not having to worry about smoke discoloring the ceiling, wax running everywhere, something catching on fire, etc. You can find them in home stores or online. Many even flicker realistically! I chose three pillar candles of different heights for interest.


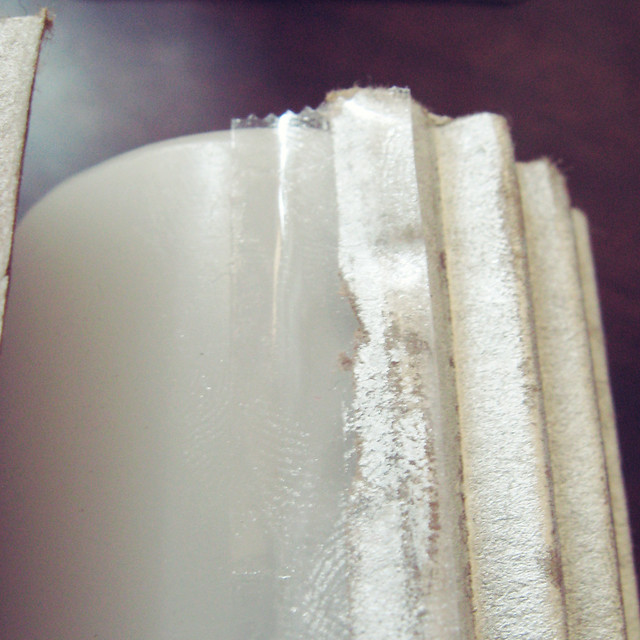
This part is very whatever-works-for-you. I grabbed a candle and started rolling the cardboard around it to measure. That's the great thing about corrugated cardboard - it's very flexible. I allowed for a tiny bit of overhang - only about 1/8 to 1/4 of an inch. Not very scientific, but it worked for me! If you want to grab a tape measure, that would work just as well. Probably better, actually...

I decided to use double-sided tape to attach the "mercury glass" cardboard. That way, if I want to cover the candles with something else, I can just remove it! If you have an easier time making up your mind and committing to a permanent craft look than I do, go ahead and use a glue gun or strong glue.

I put a piece of tape down the length of the candle, and lined up one side of the sprayed cardboard so that it covered half of the tape. Then I wrapped the cardboard around the rest of the candle, and joined up the far edge so it covered the other half of the tape.


Here's my seam. I just turn the candle so the seam is at the back when I use it in a display. Cover the rest of your candles in the same way, and your faux mercury glass candles are done!

I made these candles quite some time ago, and the tape is still sticky and holding on the cardboard despite temperature and season changes (in case you were wondering how tape holds up).


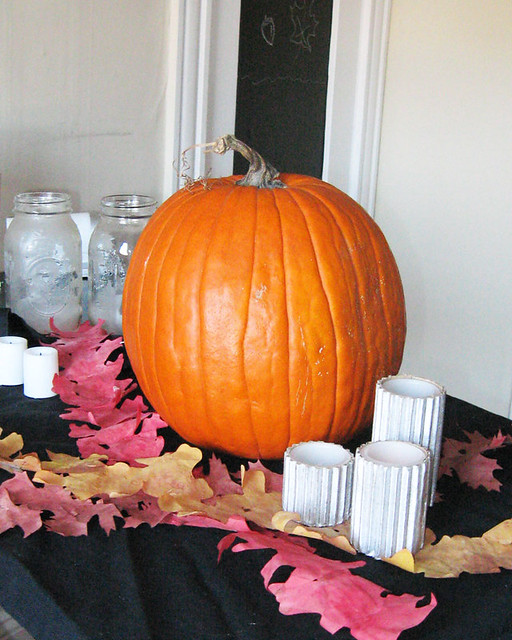
The candles are really versatile. I used them for a late fall/early Christmas display (first picture of this post), and here they are in a Halloween one. In the spring, I'll combine them with vases of daffodils or flowering branches. I think the silvery, mercury glass sheen will look lovely against the soft yellows, pinks, and whites. These candles would make great handmade gifts as well!

Just a note: if you don't want the cardboard color to peek through at the top of the candle (the top cut edge), use a silver Sharpie to cover it up.  I left mine as-is because I liked the contrast, but go ahead and marker it if you want it to be all "mercury glass"! You could also glue on tiny rhinestones, pearls, or other beads to hide it.

That's it! Simple, inexpensive, and easy. Aren't those the best kinds of projects?

I'll be posting lots of quick, DIY decor ideas and gifts in the next few days, perfect for last-minute hostess or unexpected guest gifts! I'll post pics of my holiday decor soon as well. I might have gone a tad bit overboard on the DIYs...

Hope you're all having a wonderful holiday season so far!


December 8, 2012

Rose Hips and White Spider Mums


Just wanted to add a note to my earlier post about arranging rose hips for a simple late fall/winter table centerpiece.

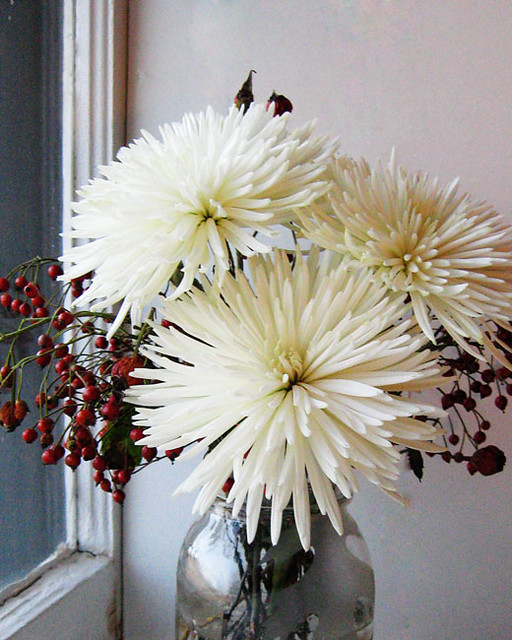
I ended up adding in some inexpensive mums to mine after a couple weeks (the rose hips last forever!), and I really love the way the white mums pop against the deep reds of the rose hips. It's very Christmas-y without using the obvious evergreen and holly sprigs. The petals of the mums almost look like frosty icicles, don't you think?


December 4, 2012

Easy Thanksgiving Table Arrangement


The period between colorful fall leaves and Christmas greenery can be a bit bare when it comes to centerpieces. Stacks of gourds and fruits weren't really in the budget for Thanksgiving, so I decided to gather local berries and seed pods from our garden for my Thanksgiving table instead.

Here I combined two types of rose hips (wild and regular garden roses), a plumed stalk of dried grass, and sprigs of wild bittersweet. I put them in lanterns etched with fall leaves (see my earlier DIY post) and surrounded them with LED flickering candles, some of which were placed in mercury glass-like holders. I'll be posting a DIY for the holders this week!

What did you decorate your table with?

November 12, 2012

DIY Fall Leaf Garlands and Wreath for Fall and Thanksgiving


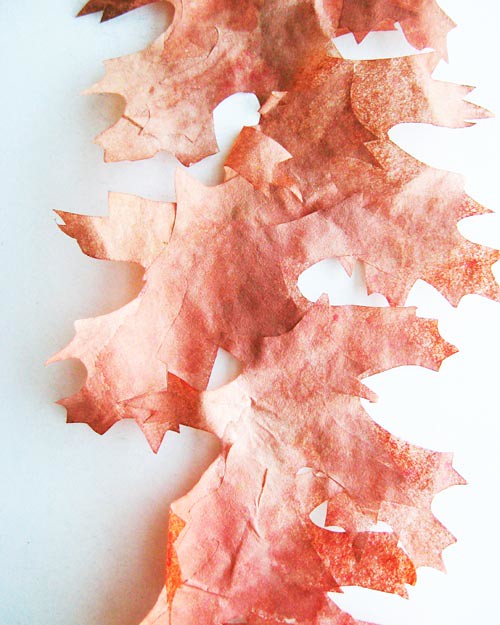
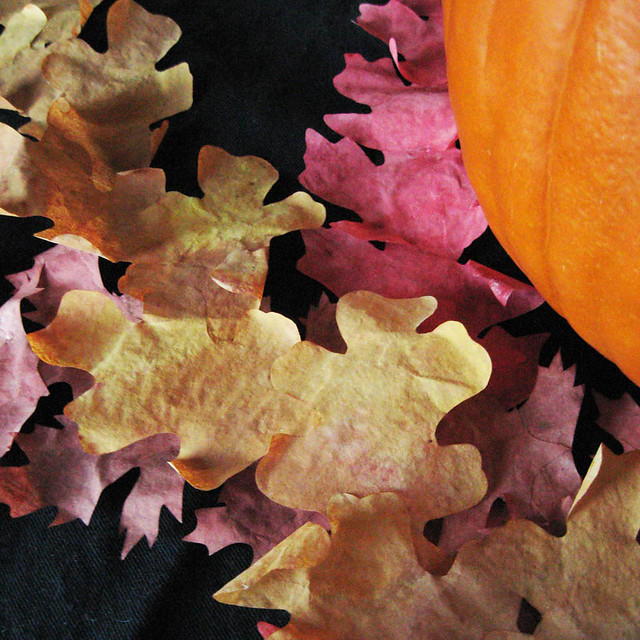
Would you believe me if I told you these colorful leaves were made out of coffee filters? Yup - that's the simple secret to their crinkly texture and brown undertones! I ran about 50 natural brown coffee filters under the tap and then spread them out flat to dry in single layers (if possible, if not, stack them in piles of two or three and rotate which ones are on top every half-hour or so) on cookie sheets around the kitchen. If you have a gas stove with pilots, putting the sheets over the burners helps speed up the process - just keep a careful eye on them! (Or maybe I'm just still wary of open flames - I grew up with electric ovens.)

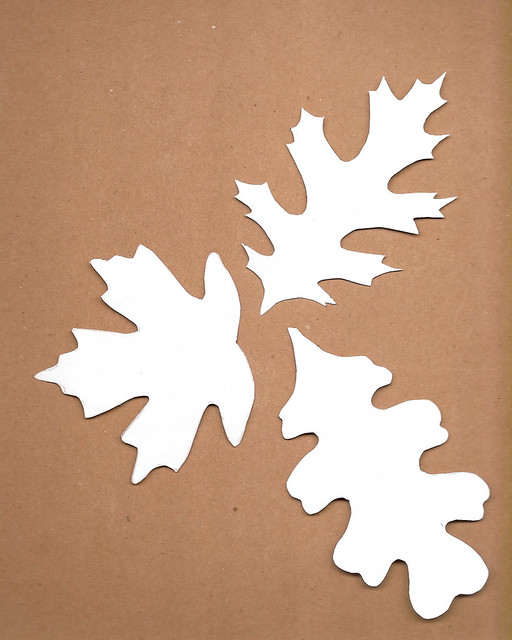
Next, I made leaf stencils out of paper and used them to cut out leaves from the dried filters. This is the part that, to be honest, is kind of a pain in the butt. It's time-consuming and it can be difficult to get all the curves and corners, but it's worth it in the end! If you have a Cricut (sp?) or another die-cutter, you could give it a whirl instead of cutting each one out by hand. I made four stencils: two types of oak leaves, a maple leaf, and a fruit tree leaf. Cut as many as you think you will need - I think I got two or three big leaves out of each filter, and ended up with about 25 of the oaks and maple and 50 of the fruit tree (since they were smaller).


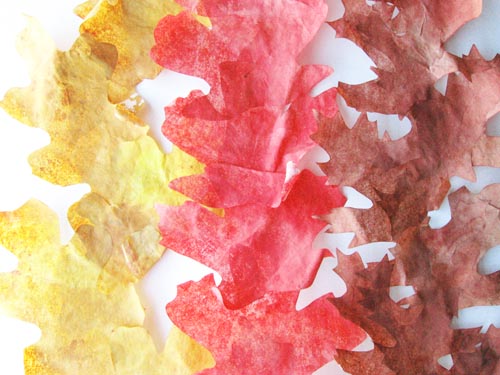
Then came the fun part: painting them! I used watercolors in shades of brown, red, orange, and gold. I tried to make some areas lighter and some darker, to imitate real leaves. I initially painted them after gluing them into garlands, but then I realized doing it the other way (paint each one first, then glue together) was probably much easier. If you do it the first way, you have to make sure you get under each leaf and sometimes the wet paint made them stick together in other places.


I glued the maple and oak leaves into garlands. You could mix them if you like, I just chose to use a single type for each. I used a glue stick and rotated the first one 45 degrees left from center, the second below it 45 degrees right from center (so 90 degrees from the first after), the third below it 45 degrees left from center (90 degrees from the second leaf), etc. You could use the same angle, or do them in a straight line. You could rotate them even more, too - just play around with them until you get something you like!


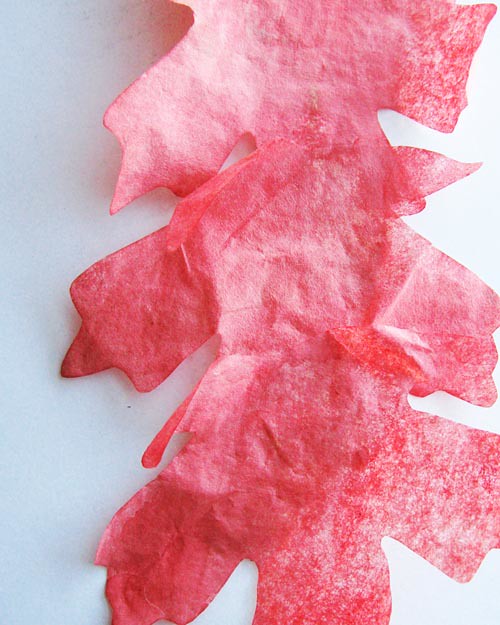
Close-up of the maple leaves that I painted bright red.


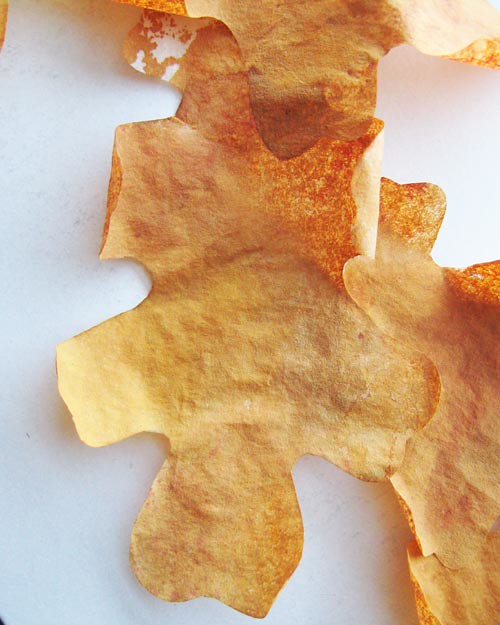
Close-up of the gold oak leaves - you can see where I missed a spot as I painted them post-gluing. Oops!


Once your garlands have dried, use them around the house for decorations! Here, I overlaid them on a table and then added a pumpkin and silver candles (DIY coming later in November) for a festive display.

You could also put the garlands up on the wall, hang them down a door or doorway, or string them along a mantle. Since they're not Halloween-ish at all, you can use them from the beginning of fall through Thanksgiving - they're very versatile!

To make your Thanksgiving table even more festive, you could run the garlands down the length of the table, add a silver vase of brown and white feathers (or mallard green ones) in the middle, and then add in small gourds, pumpkins, dark purple artichokes, pomegranates, bright red apples, or small silver dishes of nuts for extra pops of color.


Here's a close-up of the garlands overlapping.


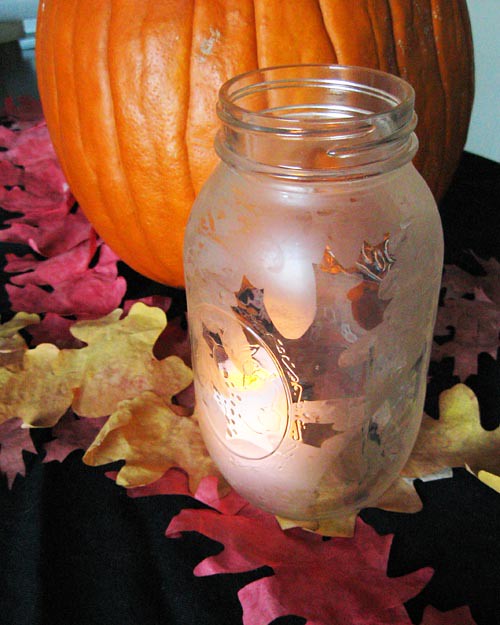
Instead of candles, you could add fall lanterns as well. I made these out of mason jars, contact paper stencils, and etching cream. Then I placed an LED light inside. These lanterns will be in the next DIY post!...


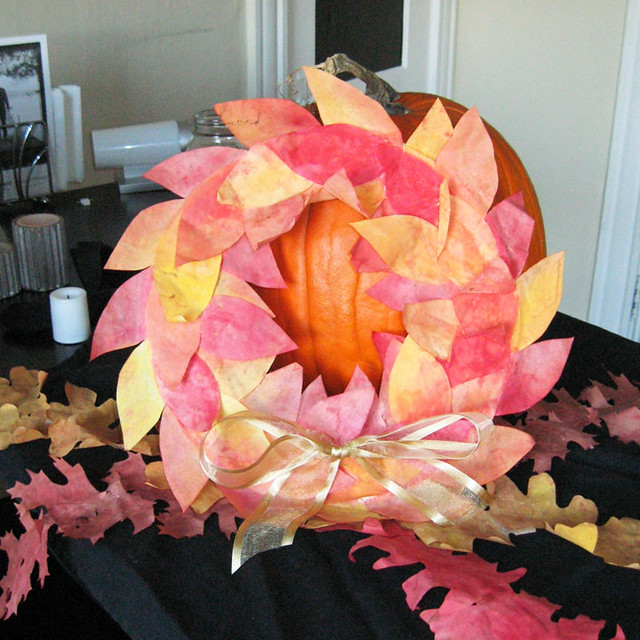
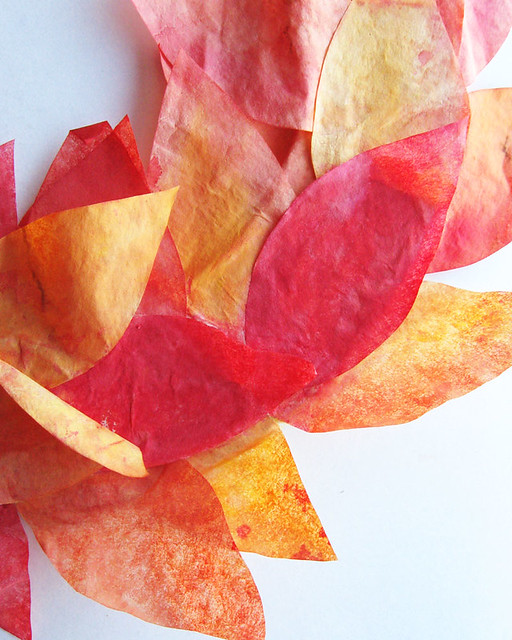
I turned the fruit tree leaves into a wreath. Storage space is at a premium in our city apartment, so I wanted fall decor that would store flat to maximize space. This is bright and perfect for the season but will take up barely any space in the closet come Christmas - perfect! I painted the leaves just like the other ones, then arranged them in layers of three around a wreath form. I made my own out of cardboard using a big plate for the outer edge and smaller one for the cut-out part in the middle, but you could use one from a craft store. I just didn't have one handy (and again, I wanted something more 2D). I curled some of the leaves up using a pencil to give the wreath a little more dimension, and then added a bow of gold ribbon.


Close-up of the wreath.


Here are three of the stencils I used (the fruit tree one seems to have gone missing, but it's easy to recreate). You may use these for your own projects (resize them when you print them to suit your project) but please don't resell them or use them for commercial projects without written permission from me. Thanks!


You Might Also Like:

Related Posts Plugin for WordPress, Blogger...