Showing posts with label party. Show all posts

May 2, 2013

Spring Celebrations - DIY Ideas


Sunny days and warmer nights mean it's spring party season! I've collected a few of my current favorite DIY party ideas for easy, brightly colored birthday parties, showers, or get-togethers.

First up are these fringed paper garlands from Mint Love Social Club. They couldn't be simpler! You just cut several layers of a triangle pattern from tissue paper, cut them so they're fringed, then seal the layers together at the top with a seam of metallic tape, binding, or ribbon (if using ribbon or binding, glue in place instead).


These little "oranges" from The Cinderella Project are just scoops of sorbet (store-bought is fine, but you could also make your own) with a clove and two edible leaves poked into the top so they look like citrus fruits. For the leaves, something like mint or lemon balm would work well and complement the flavor of the sorbet.


This larger-than-life crepe paper rose reminds me of Alice in Wonderland! It's from Green Wedding Shoes, via Mon Carnet. I think a few of these would look lovely hung over a table of treats, or strewn across a gifts table. You could also arrange several on a mantle for a lush botanic look.


Let's face it, seating can be one of the hardest things to arrange for a party. Keeping enough chairs around the house for all potential guests without cluttering your space is difficult, renting chairs gets expensive, and using regular inexpensive folding chairs can be, well, ugly. Luckily, The Moon and Me has a really helpful and easy tutorial on how to repaint folding chairs and turn them into these lovely, candy-colored versions instead!

To see more DIY party ideas, check out my DIY Party Tricks board on Pinterest. You can also follow my other boards on Pinterest here!

June 1, 2011

Peony "Ice Cream" Cone Bouquet Tutorial


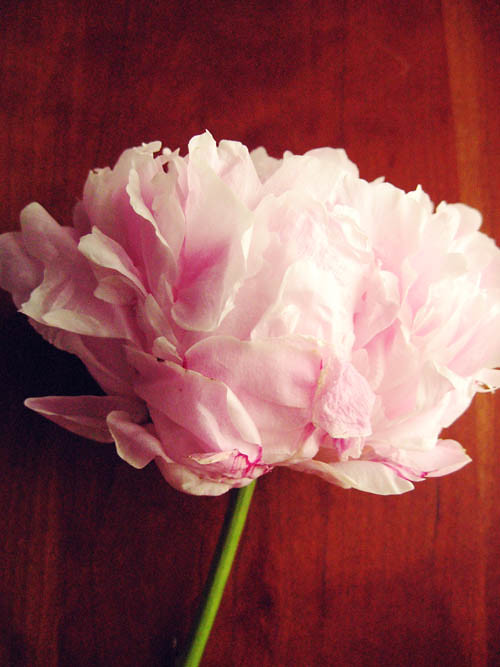
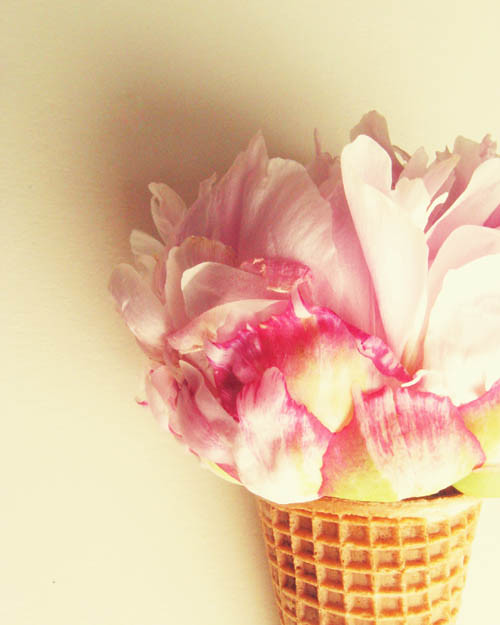
While gazing at a bouquet of enchantingly ruffled, frilly peonies last week, I thought to myself how very much they looked like scoops of ice cream. (I love how this one even has a darker pink "cherry" in the center.) Why not take the resemblance even further by displaying them in sugar cone vases? And so an idea was hatched!

It's actually quite easy to turn a cone of your choosing - could be sugar, could be waffle, could be just plain wafer - into a vase. You could also substitute paper ice cream cups or even cupcake liners!

Here's the tutorial:


You'll need a stack of ice cream cones, one per stem.


And peonies! You can use them at any stage of bloom. They're more rounded before they open (and look just like a ball), but if you use ones that have opened more you get a ruffled, slightly-messily-scooped look. It's a bit more free-form.


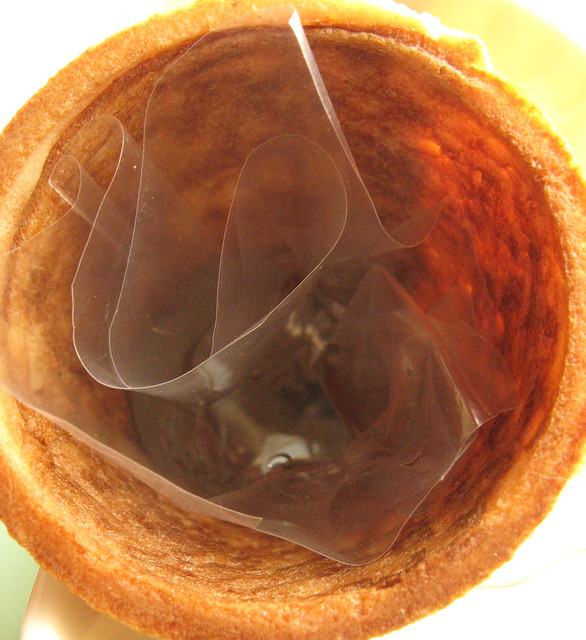
Take a small plastic bag, open it, and push it down into the cone. A pen or pencil is perfect for this. Using a pair of sharp scissors, trim just below the top rim of the cone. The bag will have folds - don't worry about this!

Use tape that's been doubled over (or use the double sided kind) to attach the top outside edge of the bag to the inside of the cone. Two or three pieces should do it! Press the bag's folds against the sides so that you have room to pour water in. (You can tape them flat if you would like - I just left them as is.)

Fill the bag about halfway with water, making sure you only get it in the middle -not inside a fold.


Cut the peony's stem at a 45 degree angle. This maximizes water absorption! Take enough off the length so that the flower sits on top of the cone, but make sure the stem isn't sitting right on the bottom (or it won't be able to drink in water). About one-quarter to a half-inch above the bottom works the best.

Make sure you don't go too short either. I mistakenly did so (leaving about a two-inch stem), and the top-heavy bloom kept falling out of the cone. Longer is better!


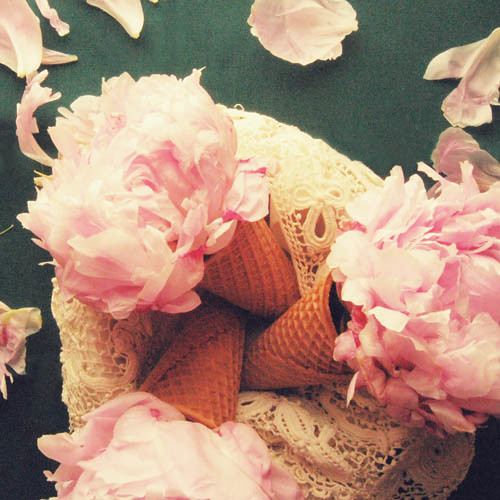
If you really want to get fancy and go for a Victorian or Edwardian look, display the cones in a bowl lined with antique lace on a colorful tablecloth, and scatter extra peony petals around the base.


For a more modern and clean look, choose a martini (or other cocktail) glass instead. Wine glasses would work as well. Place two ice cream peony cones inside, on opposite sides for a simple and elegant centerpiece. These peonies would be perfect for a brunch, shower, dinner party, grown-up ice cream sundae night, or just a birthday fete!


You Might Also Like:

Related Posts Plugin for WordPress, Blogger...