
These leather and gold tube bracelets seem to be everywhere lately. The good news is that you can make your own custom version very easily, in exactly the colors you want! You can also make more for friends and family members - they'd make great handmade Christmas or holiday gifts.
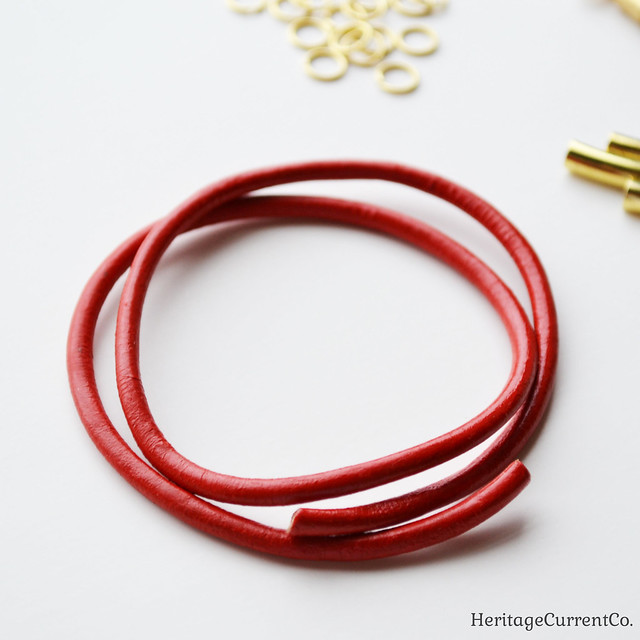
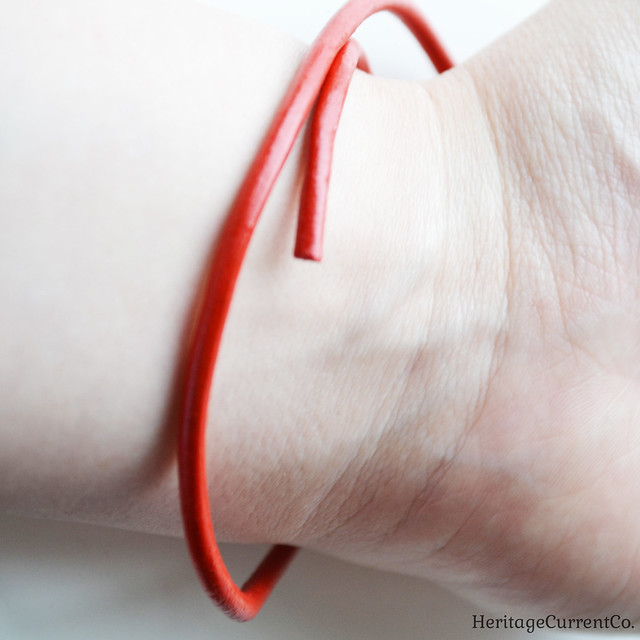
First, decide which color cord you'd like. I went with bright red, since I like how it contrasts with gold. You could also use silver or brass findings, if you'd prefer a different metal.
I used 3mm round cord, so it wouldn't be too thick or too thin. You need round cord to go with the tube beads - they just won't sit right on flat cord.
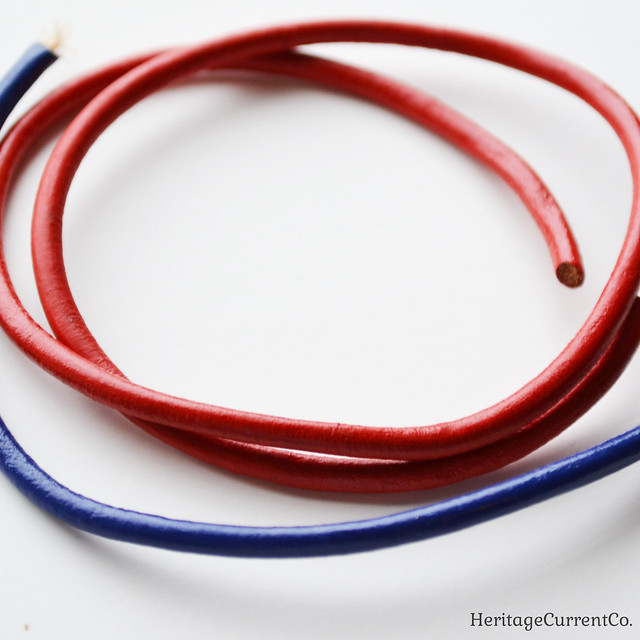
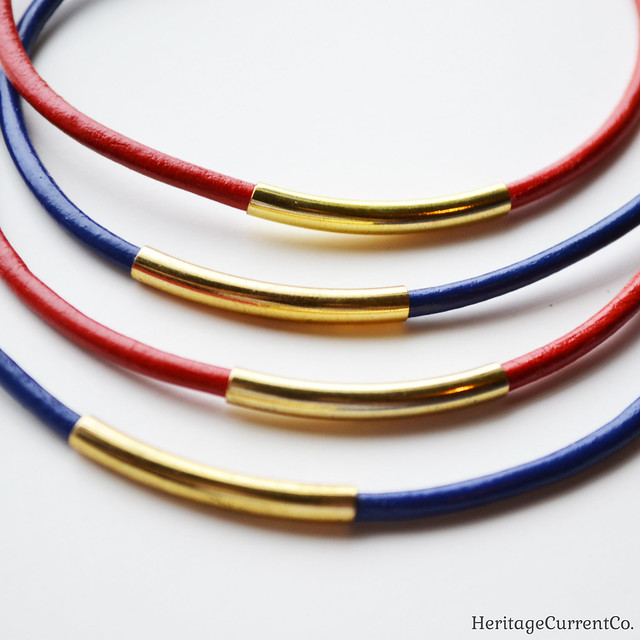
I threw in some blue cord as well, just for contrast. This one is a very bright, indigo blue.

Other than gold tube beads (not shown), you'll need a few other types of findings. For the record, since my cord was 3mm, I used 4mm tube beads. 3mm would be too tight, but 5mm would be too big. Try to go only 1mm over your cord width.
You'll need to choose a clasp. I went with these gold lobster ones. They make it much easier to put on bracelets yourself than other types of clasps.
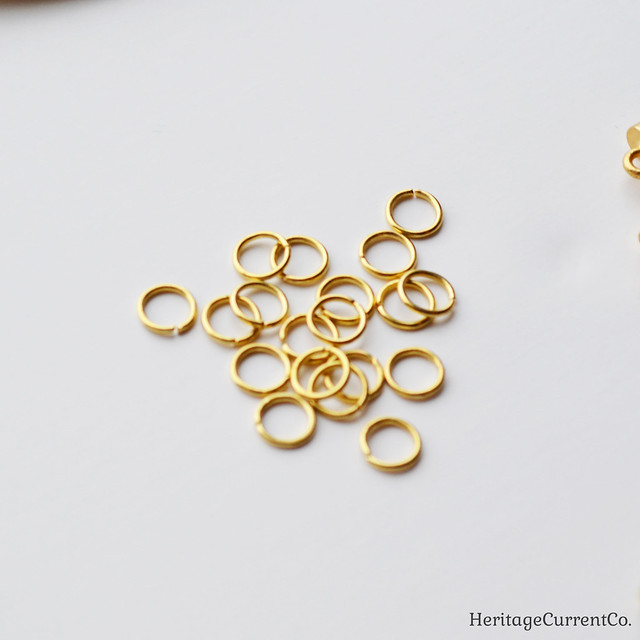
You'll need some jump rings as well. I went with ones that are 4.5mm across inside (6mm total). You could use a slightly smaller one if you'd like, but I wouldn't go any larger.

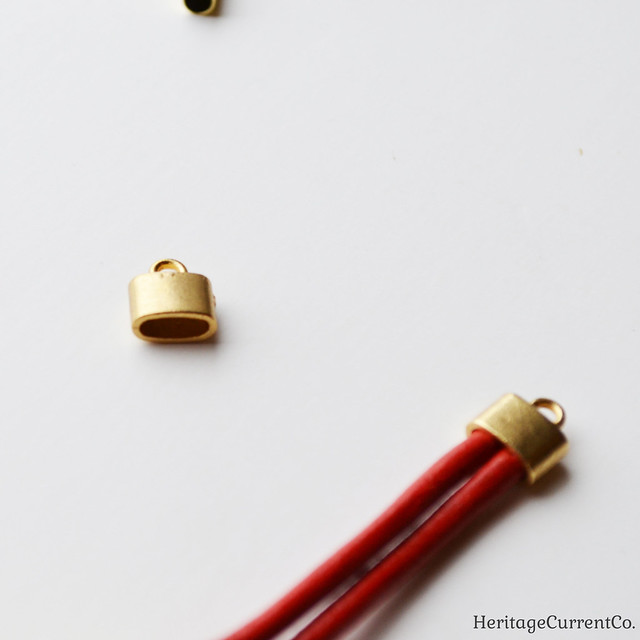
You'll need end caps for your cord. I went with these flat ones, so I could fit two lengths of cord inside. This gives your bracelets a "stacked" look, while halving the number of clasps you have to open and close! You could use single ones, or larger ones (say, for 3 or 4 lengths of cord). These ones are 7mm x 3mm.
I measured my cord by wrapping it around my wrist and then cutting. Remember that adding end caps, jump rings, and clasps will add a bit of length to your bracelet. So if you don't want them to be too loose and bangle-y, go with a slightly shorter length. Make sure your lengths are the same if you'll be using the double end caps (or larger). Otherwise, they'll bunch up in strange ways instead of sitting neatly on top of each other.
Slide a gold tube bead onto each length of cord. With one length of cord, I tried adding a dab of glue in the middle of cord and then stringing the bead over it to keep it from moving around. Let's just say that the glue got pushed around and went everywhere *but* inside the tube! I found I didn't need it with the other lengths - the tube beads are tight enough on the cord not to slide around much (if at all).
Attach your end caps. I used a dab of jewelry-appropriate glue on the inside of the cap, just to make sure the cords don't slip out. The cords will fit very tightly into the cap, but I just wanted a little extra security.
I chose to use the same colors of cord in each, but you could do multiple colors. Play around and see what you like the best!
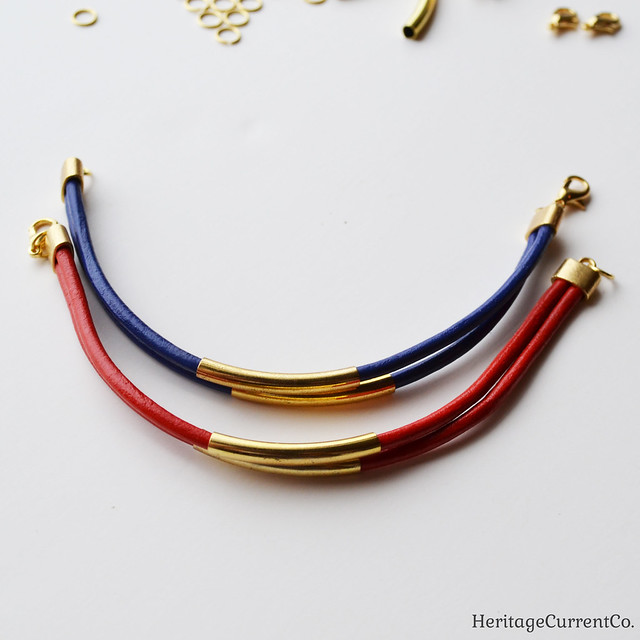
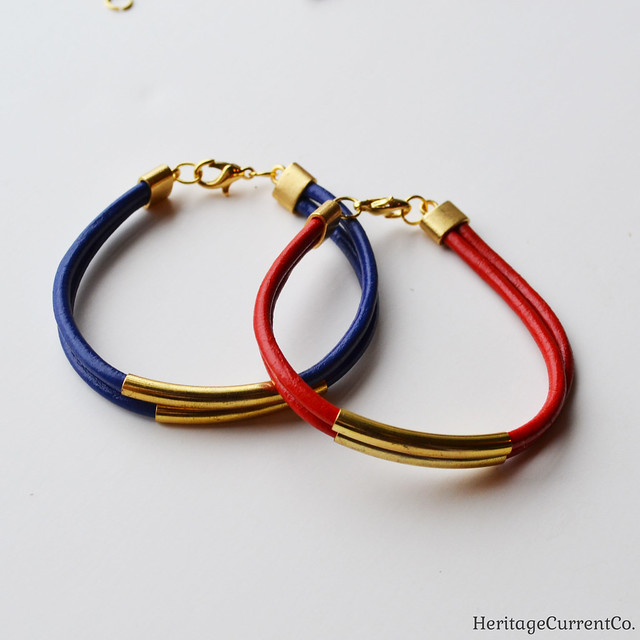
When the glue has dried completely (follow the directions on the bottle/jar), add a jump ring to one end and a jump ring & clasp to the other. Here's what your finished bracelets will look like unclasped!
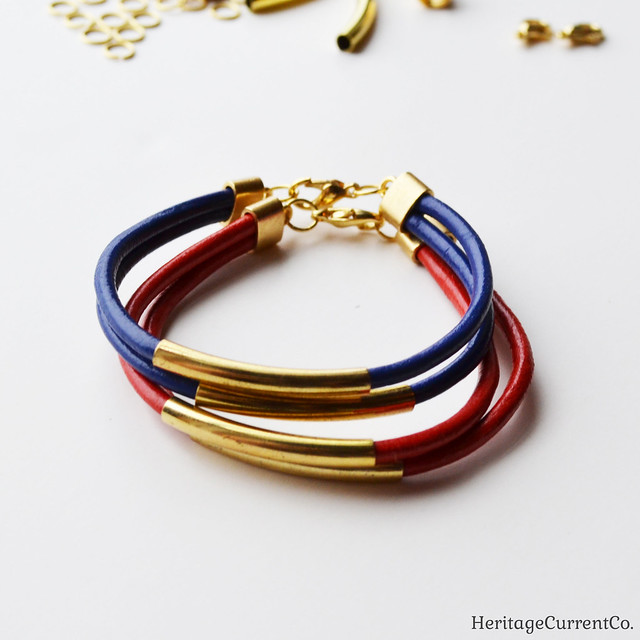
Here are the finished bracelets, stacked on top of each other like they would be on a wrist. Make as many or as few as you like - it's very easy to customize these in every way.
In my next post, I'll have a bonus project to use up your extra lengths of cord!
This comment has been removed by a blog administrator.
ReplyDelete