Showing posts with label blue. Show all posts

May 9, 2016

Tulips and Cherry Blossoms


Everything's finally blossoming around here, couldn't resist posting some tulip and cherry blossom snaps! I hope you enjoy them.

Hope all my fellow mamas out there had a wonderful Mother's Day as well!

November 7, 2013

DIY Chandelier Crystal, Lapis, and Gold Necklace


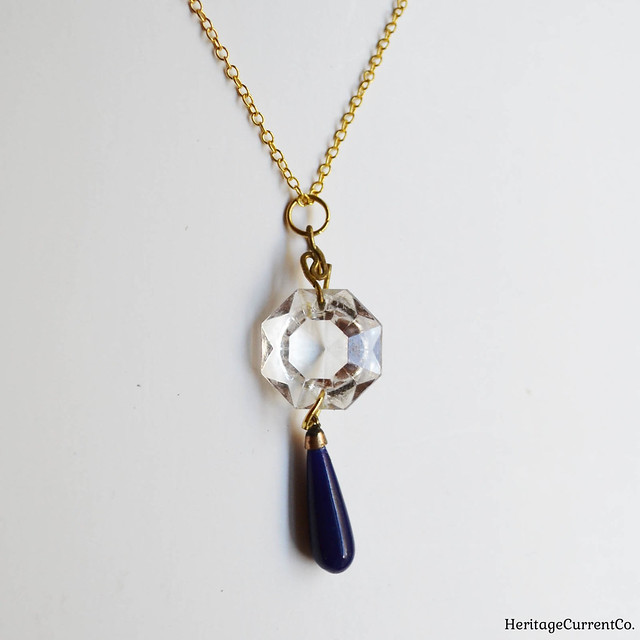
Like my DIY bead bar necklaces, this is another super-simple tutorial. Take an octagonal chandelier crystal with holes drilled on opposite sides (you can buy these online, I found mine in the "Supplies" section of Etsy) and then pick out a teardrop shaped bead. I used one that's about an inch long, and made of lapis-colored glass since I really like the combination of white, blue, and gold together. You could also go with a pearl drop, green glass drop, or even a gold one. You could use a round bead as well, but I think the teardrop shape balances out the octagonal crystal better - I think you need something longer than the crystal to give it a lavalier-type look.

My chandelier crystal still had one original hanging wire attached, so I simply slipped a large gold jump ring onto it and then closed the loop. The crystal also had a drilled hole at the bottom, so I simple slipped a large gold jump ring through it, added the lapis, then closed it. I strung this onto gold-plated chain, and instantly had an elegant, vintage-inspired necklace to wear. So easy, right? I think it looks very 1920s England/Downton Abbey-esque. What do you think?

Since you usually have to buy multiple beads at a time, the extras would be great for turning into one-of-a-kind holiday or birthday gifts for friends and family.

September 28, 2013

DIY Anchor Leather Bracelet Tutorial


If you saw my DIY bracelet post featuring gold tube beads and leather, you may remember that I promised a bonus project to use up your extra leather cord. 

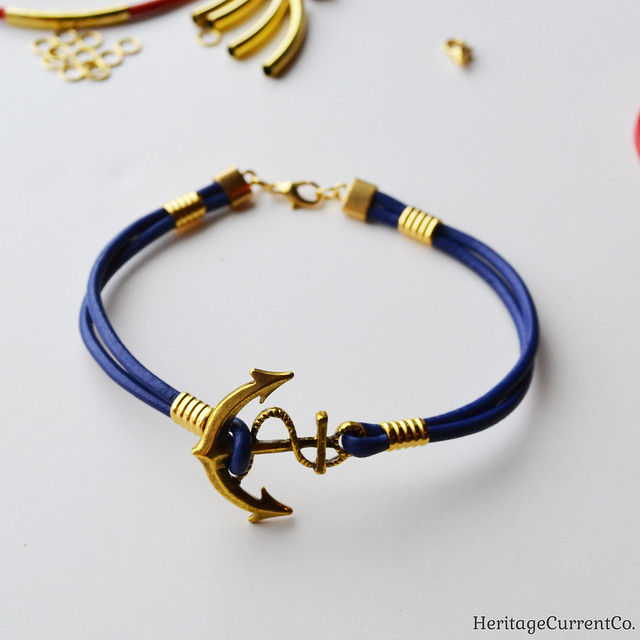
I used my extra pieces to make this anchor and leather bracelet in two colors. It's just as easy as the original project!


Take your extra cord, and measure around your wrist. You can make it fairly snug, or larger like a bangle. Up to you! Sometimes I do this with a piece of twine or other string, instead of using the cord I'm going to be cutting. 

This is the total length of your anchor charm, end caps, jump rings, clasp, and cord. It helps to lay everything out on your work surface. For the lengths of cord on either side of the anchor, you'll want to double them and note that some of the length will be inside the end cap (so add a few millimeters if you want the bracelet to be snug).


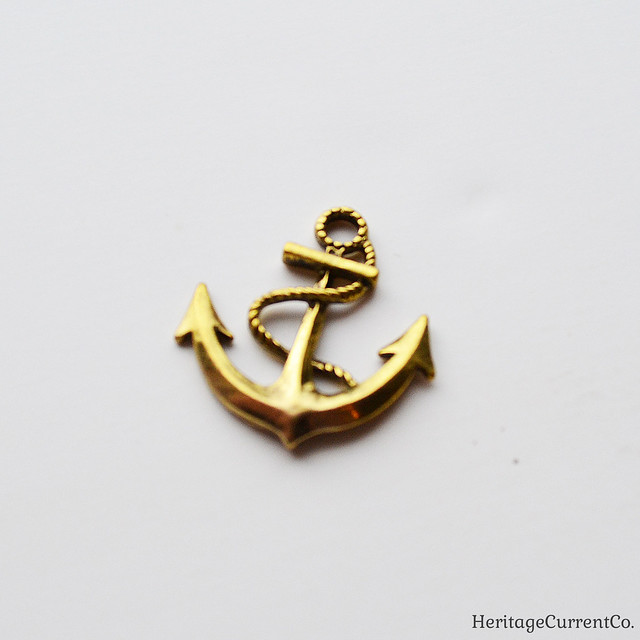
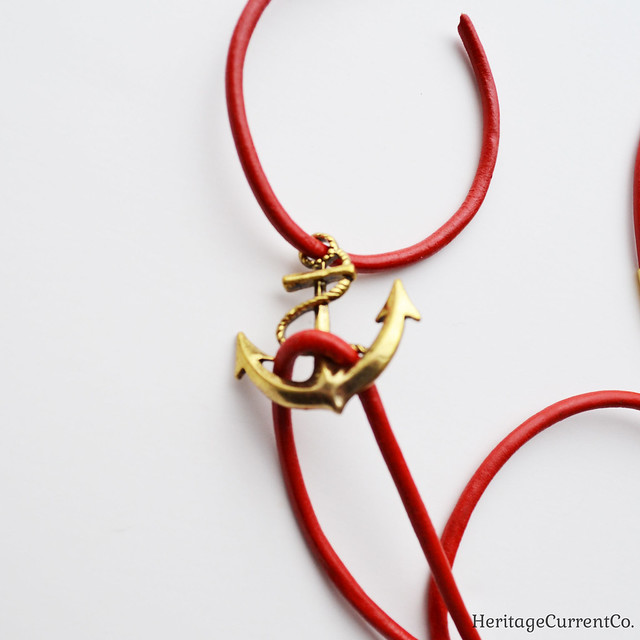
I decided to go with this gold anchor charm, since it had space on both ends for me to string cord. I'll be stringing the round leather cord through the loop on the top, and around the prongs at the bottom of the anchor.

I used gold because I like how it contrasts with red and blue, but you can use whatever metal color you like.


Take your two lengths of cord, and string them as shown. Don't worry about making them completely even - you can do that in the next step.


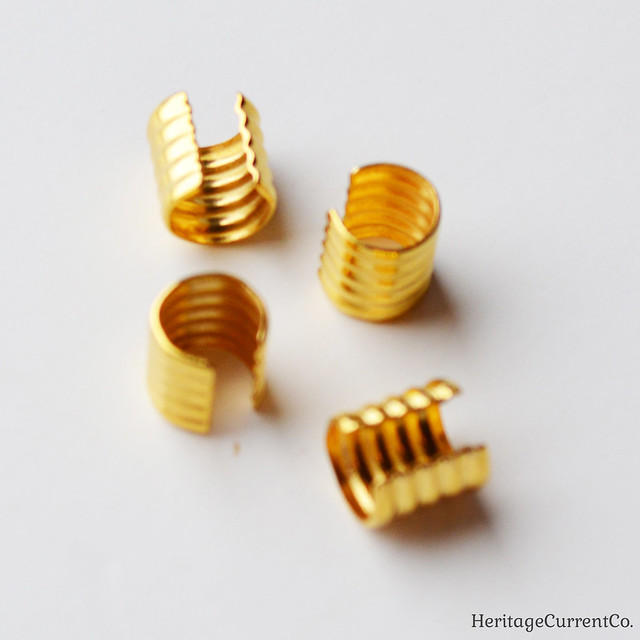
Find some gold tube crimp beads. These ones are 7.5mm on the inside, so they were wide enough to accommodate two widths of my 3mm cord.


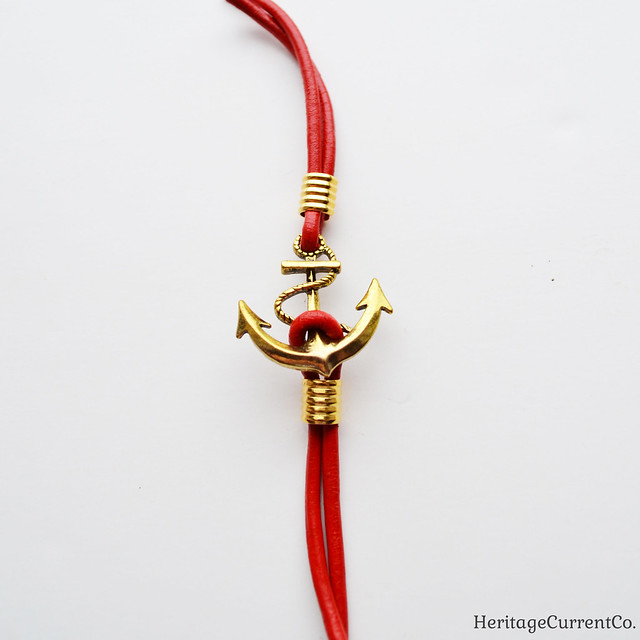
Even up your cord lengths so they are folded perfectly in half. Add a crimp bead near where you strung your cord on either end, and use needle-nose or jeweler's pliers to tighten. Be careful not to tighten too much, however. You want the two sides of cord to lay flat next to each other, rather than stacking on top of each other.

Also, don't put a crimp bead too close to the prongs at the bottom. Leave a bit of space so that the anchor charm will lay flat when you wear the bracelet. If you put the crimp bead too close, it will end up right under the anchor charm instead of next to it, and won't look right.


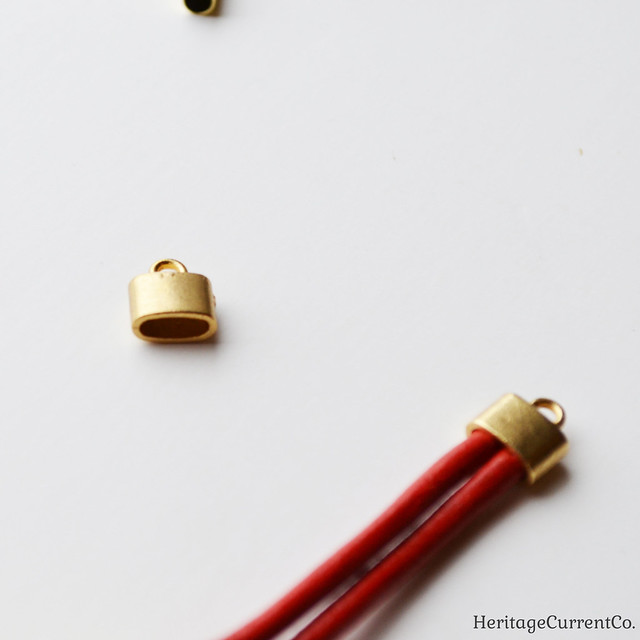
Add your end caps, as described in the gold tube and leather bracelet post. Let the glue dry thoroughly before moving on to the next step.


Add jumps rings and a clasp to the end caps, and your bracelet is finished. You can see the blue version I made here.

This nautical-themed bracelet is great for summer, but also works well for adding a touch of the sea and ocean to your outfit year-round. Like the gold tube and leather bracelets, this anchor bracelet would make a thoughtful handmade Christmas or holiday gift!

September 26, 2013

DIY Leather and Gold Tube Bracelets Tutorial


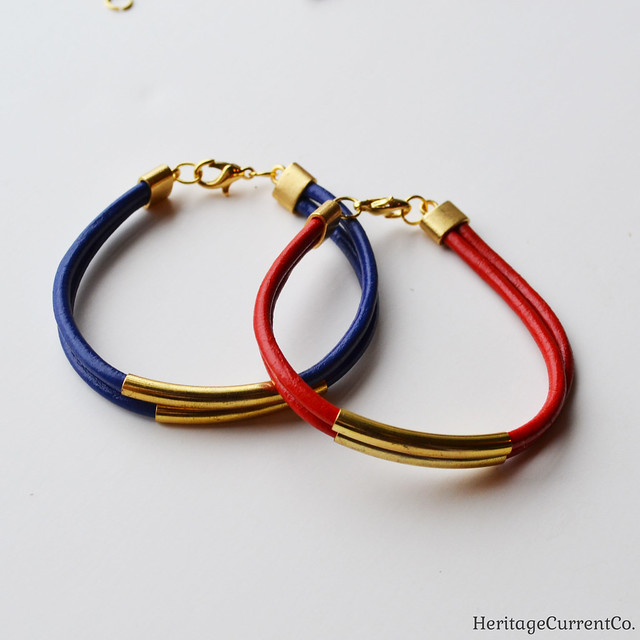
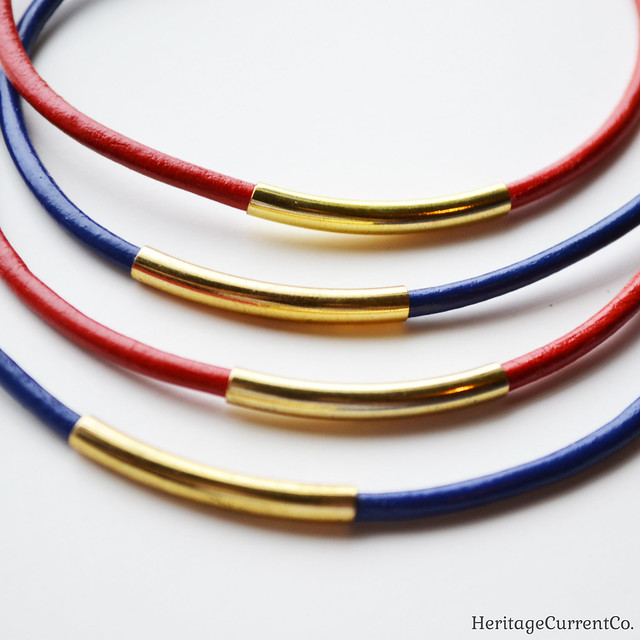
These leather and gold tube bracelets seem to be everywhere lately. The good news is that you can make your own custom version very easily, in exactly the colors you want! You can also make more for friends and family members - they'd make great handmade Christmas or holiday gifts.


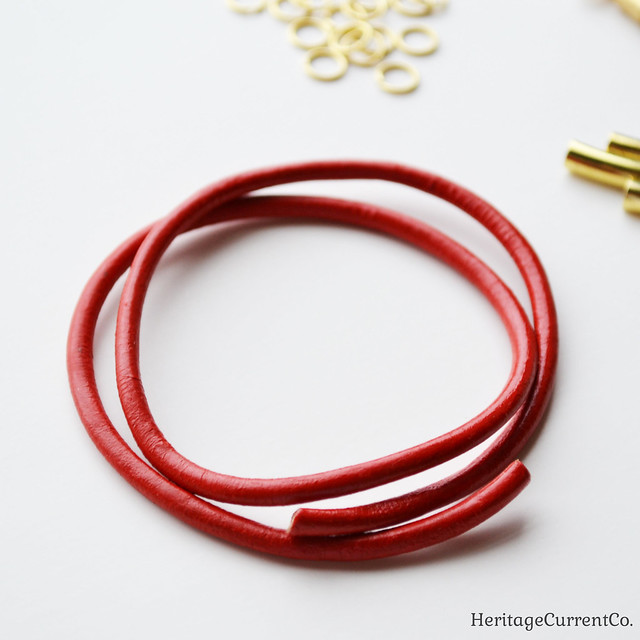
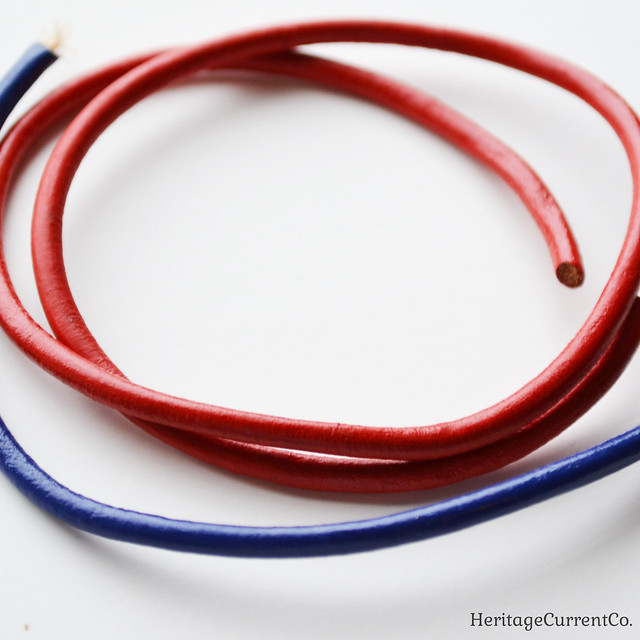
First, decide which color cord you'd like. I went with bright red, since I like how it contrasts with gold. You could also use silver or brass findings, if you'd prefer a different metal.

I used 3mm round cord, so it wouldn't be too thick or too thin. You need round cord to go with the tube beads - they just won't sit right on flat cord.


I threw in some blue cord as well, just for contrast. This one is a very bright, indigo blue.


Other than gold tube beads (not shown), you'll need a few other types of findings. For the record, since my cord was 3mm, I used 4mm tube beads. 3mm would be too tight, but 5mm would be too big. Try to go only 1mm over your cord width.

You'll need to choose a clasp. I went with these gold lobster ones. They make it much easier to put on bracelets yourself than other types of clasps.


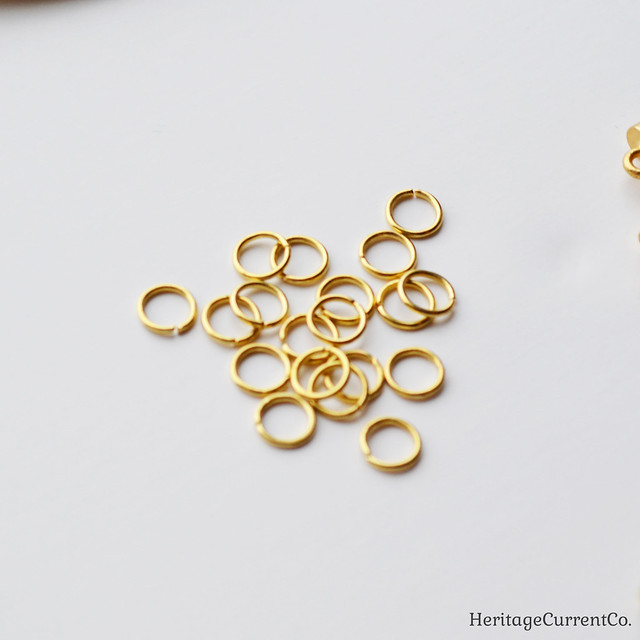
You'll need some jump rings as well. I went with ones that are 4.5mm across inside (6mm total). You could use a slightly smaller one if you'd like, but I wouldn't go any larger.


You'll need end caps for your cord. I went with these flat ones, so I could fit two lengths of cord inside. This gives your bracelets a "stacked" look, while halving the number of clasps you have to open and close! You could use single ones, or larger ones (say, for 3 or 4 lengths of cord). These ones are 7mm x 3mm.


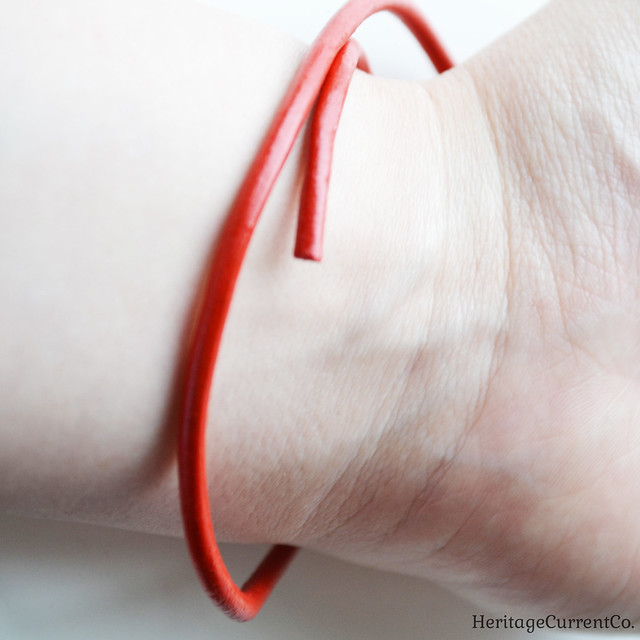
I measured my cord by wrapping it around my wrist and then cutting. Remember that adding end caps, jump rings, and clasps will add a bit of length to your bracelet. So if you don't want them to be too loose and bangle-y, go with a slightly shorter length. Make sure your lengths are the same if you'll be using the double end caps (or larger). Otherwise, they'll bunch up in strange ways instead of sitting neatly on top of each other.


Slide a gold tube bead onto each length of cord. With one length of cord, I tried adding a dab of glue in the middle of cord and then stringing the bead over it to keep it from moving around. Let's just say that the glue got pushed around and went everywhere *but* inside the tube! I found I didn't need it with the other lengths - the tube beads are tight enough on the cord not to slide around much (if at all).


Attach your end caps. I used a dab of jewelry-appropriate glue on the inside of the cap, just to make sure the cords don't slip out. The cords will fit very tightly into the cap, but I just wanted a little extra security.

I chose to use the same colors of cord in each, but you could do multiple colors. Play around and see what you like the best!


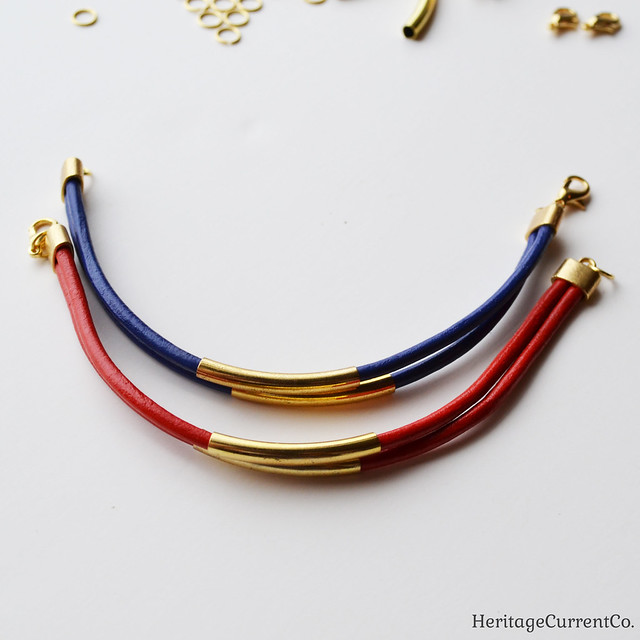
When the glue has dried completely (follow the directions on the bottle/jar), add a jump ring to one end and a jump ring & clasp to the other. Here's what your finished bracelets will look like unclasped!


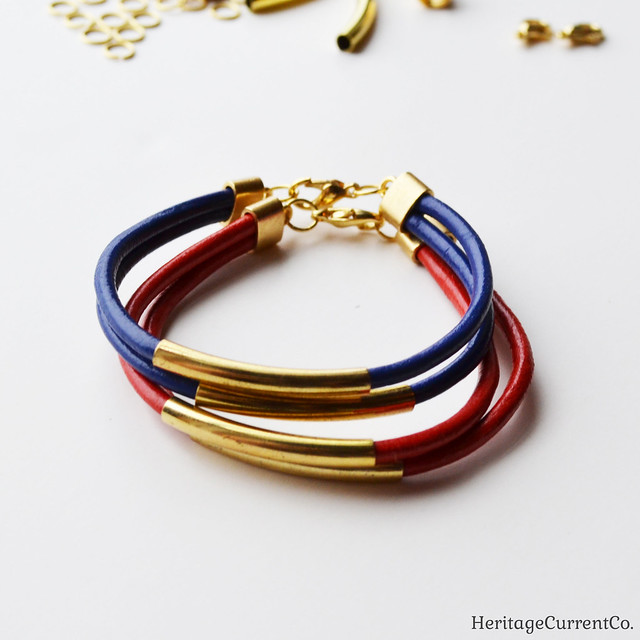
Here are the finished bracelets, stacked on top of each other like they would be on a wrist. Make as many or as few as you like - it's very easy to customize these in every way.

In my next post, I'll have a bonus project to use up your extra lengths of cord!


August 23, 2013

Dreamy Flower Photos by Grain and Silk


These dreamy flower lomography photos from Grain and Silk remind me of photos you see in magazines, with their soft colors and hazy light.


They'd be great hung singly in a pale blue bathroom, or together as a pair on a neutral-colored wall. The soft pinks in the roses at the beginning of this post and in the mountain laurel blossoms shown above complement each other perfectly. They're called Ophelia's Flowers II and Ophelia's Flowers I.


As much as I love the two blooms above, I think this photo - titled House of Green VII - is my favorite. I love how the very geometric lines of the greenhouse contrast with the rounded, irregular leaves and foliage. The greens really pop against the pale sky. I want a greenhouse of my own someday, even if it's just a tiny one in the backyard, so in the meantime I'd settle for a beautiful pic of one like this!

See more photos from Grain and Silk here.

Just a quick note on posting - I know posts have been a bit sparse this month, but we're moving! I should be able to post more frequently in another week or two, depending on when we get internet set up again. I've also been really busy adding prints to the shop in time for fall and winter. Check them out here if you'd like!


July 4, 2013

Happy Fourth of July!


Here's wishing a Happy Fourth of July to all of you in America! I hope you have a day/weekend filled with red white and blue, fireworks, barbecues, rocket popsicles, and parades.

I'll confess: I don't really decorate for Independence Day. It's one of my favorite holidays, but I always want to do something different than little flags and bunting everywhere. I love both of those things, but I'm always looking for something that's more classic Americana and that could be displayed year-round.

Some of these items might just do the trick! I like the vintage charm and classic look of these wooden pallet star signs by RusticDesigns1. They'd look great on top of a mantel, over a couch, or even hanging on a porch by the door. I just can't decide if I'd want one color, or all three. Tough decision! You could easily DIY your own version as well. Just take a square or rectangle piece of wood (or strips of wood nailed together), varnish or stain it with your choice of color, then stencil a star in the middle with red, blue, or white acrylic paint. Let dry, and hang!


I've been obsessed with barn stars like these vintage iron ones by Becaruns for ages. If you walk around the older parts of Boston, you can see original ones from the colonial days still attached to the sides of old brick buildings in the city. They remind me of our patriotic and historic past.


July 4th wouldn't be complete without some stars and stripes! This flag by PassedBy is a vintage one, featuring only 48 stars (from before Alaska and Hawaii joined the union). It's discolored a bit with age, but I think that only adds to its loveliness.

I'd like to take a minute to thank all those who have served in the military, risking their lives to protect our country, and to remember family members and ancestors who have served but who are no longer with us.

Again, I hope you all have a wonderful holiday! 

August 26, 2011

Wildflower Paintings by Cool Ranch Studio


Caroline Saganich uses such vivid colors in her "Wildflower" series paintings, on reclaimed cedar wood. She accents rich green and blue tones with splashes of metallic gold paint, as well as engraved and drilled details. I can see grouping two or three of these little masterpieces on a wall together, or on a mantel.

See more of her whimsical pieces here.

August 23, 2011

Gold-Plated Feather Pendants by Marge Hinge


Mid-August was made for basking in the waning warm, golden-glowed haze of summer by the light of day and for savoring the first cool, autumn-esque breezes by the dark velvet of night.

I've been taking some time off from the store and blog to do just that. I hope you caught the Perseid showers last week, in spite of the full moon! We watched a few spectacular meteors blaze down towards the horizon, past the flickering stars. Such marvels of nature put things in perspective. It's nice to feel small in the grand scheme of things sometimes, don't you think?

Back on the inspiration front, I'm completely in awe of these pendants by Marge Hinge. She's found a way to electroplate only the ends of natural feathers, combining the hardness of metallic edges with the softness of the vanes. I love the intense green and blue tones against the gold as well.

See more from Marge's Etsy store here!


July 15, 2011

DIY Lichen Pendant Necklace


In this quick & easy tutorial, I'll show you how to create a woodsy, nature-y pendant that's a perfect statement necklace piece for the summer!


First, take a walk around your neighborhood or woods to find a lichen that you like (no pun intended). You want a piece still attached to bark or some other sturdy material, as the lichen would be too flimsy and fragile on its own.


I found this piece on our sidewalk after a particularly blustery storm. I think it got knocked off our pine tree by the wind (or by a squirrel skittering up and down the trunk).

Make sure that the lichen you pick has fallen off naturally, either from the wind or from its tree being felled.

Please do not pry off a lichen from a living tree! Lichens take years to grow into the size shown, and do not grow back quickly or easily.


Coat your lichen with a layer of craft glue so that it's less likely to break when it hits something. I used Modge Podge but you could also use Tacky Glue or some type of jeweler's medium. You could even use resin, if you have experience working with it.

Use a brush to get into all the cracks and crevices. Let one side completely dry before you flip it over and do the other side. Working on a piece of waxed paper helps prevent the lichen from sticking as you coat it and as it dries.


I removed a piece of the plain bark, so that my pendant would be a more pleasing shape (and mostly lichen). Then I pierced a hole using a large needle, and used needle-nose pliers to make a bail out of wire.

If you have large jump rings, you could use pliers to attach one instead of using wire. Whatever you use, don't make your hole too close to the edge! Otherwise, the hole will eventually tear from use and the pendant will fall off.

String with a chain of your choosing, and wear your new creation! I used bright gold chain to play off the blue and green hues in the lichen, but an antique bronze or gold shade would work nicely as well.

June 16, 2011

London Neighborhood Prints by Little Gonzales


These London neighborhood prints by Little Gonzales, featuring the sights of the city's various areas, are so wonderful! He mixes witty phrases with classic British icons, all in bright colors.

I think the little bird above "Hampstead Heath" is my favorite detail. So clever and whimsical! See more of Little Gonzales' work here.

April 8, 2011

Animal Prints by Zara Illustrates


These "Country Badger" and "City Fox" prints by UK-based Zara Illustrates have had me smiling all day! I think they'd work wonderfully with taupes, browns, and tweeds in a living or dining room. They'd add a wonderful touch of humor and lightness, and would be great in combination with pops of blue, orange, or red.

See more of Zara Illustrates' work here!

January 11, 2011

Easy White and Gold Necklaces


Wintertime always makes me crave white and gold jewelry, to coordinate with all the twinkly lights outside. Below, I'll show you a quick & easy way to make your own using Shrinky Dink sheets!


First, pick an image you like (or multiple images) and print it out. I'll be using feather photos for the next few steps. Turn the paper over, and rub a pencil back and forth until you have a nice layer of graphite. You could also use a charcoal one, if you have it handy.


Turn the sheet back over, place it over a Shrinky Dink sheet, and trace the outlines. You won't need any detail in the middle, unless you plan on cutting it out to form a window or something like that.


Carefully cut out your shapes. A pair of small scissors works great for tiny details like the points of the feathers seen here.


Use a punch to create a hole where you want the chain to hang from. If you're doing an animal, like the quail shown above, you can make the hole where the eye would be. It makes the necklace look really modern but adds a bit of detail as well.

Then just pop your shapes in the oven, following the directions on the Shrinky Dinks packets! After they're done baking, use pliers to attach jump rings to the holes you punched and string gold chains through the ring. I like a slightly longer one, about 18" so it hangs low and looks a bit boho, but a 16" one works well too.

You Might Also Like:

Related Posts Plugin for WordPress, Blogger...