Showing posts with label nautical. Show all posts

August 28, 2014

DIY Nautical Anchor Necklace and Earring Set Tutorial


Just in time for summer's end (sorry guys, but these would make great Christmas presents!), I have a DIY Nautical Anchor Necklace and Earring Set tutorial. It's really easy, and can be customized to whatever length and spacing you like.

I purchased silver anchor charms on Etsy that were a good size (about an inch or less), and I made sure they had a hole at the top for a jump ring and another hole somewhere on the bottom for another jump ring. You could definitely purchase ones with only a top hole, however, and just have them dangle off instead of being connected on both sides with chain. As you'll see close-up later, I did this with the bottom-most anchors of each chain, to make them pendants.

I had silver chain from another project sitting around, so I used it for these pieces as well. The chain I used has small links and is pretty delicate, but if you want something bolder, go for it!


I like long necklaces, so I made my outermost one about 33 inches, and the inner necklace about 27.5 inches.

I used pieces of twine to choose the lengths, then laid out each piece of twine in a straight line on a flat surface to plan my necklace. I found the center point of each and marked it for the hanging anchors, and then measured 5 inch lengths on either side and marked those. I laid out my anchors and jump rings next to these markings, so that the bottom jump ring would fall at the 5" mark. This would leave 5" of chain from the bottom of the anchor to the pendant. I found this method - using rounded lengths of chain - to be easier when it came time to measure and cut the chain. Then I wouldn't have to subtract half of the anchor and jump ring length, or measure strange lengths.

Based on laying out my anchors and jump rings, I then measured 5" lengths from the top jump rings to figure out where the next anchor would go. For the outer necklace, I ended up with two anchors (4 total) on either side of the pendant, and one anchor (2 total) for the inner necklace.

I used fewer on the inner, even though I ended up having about 7.5 inches of chain on each side going up to the clasp (instead of 5") because I didn't want anchors rubbing against my collarbone area. However, you could make the inner necklace have two anchors on either side if you wanted. Use whatever spacing you like as well!

I then cut my lengths of chain, and attached them between the anchors using pliers and the jump rings.


Here's a close-up of one of the hanging anchor pendants.


Here's what the bottom parts of each chain look like. At the top part of necklace, for the clasp, I attached both the inner and outer necklace chains to one jump ring on each side and then attached these rings to the clasp. Make sure your chains don't get twisted as you do this!


Since I had leftover charms and still more chain, I made matching earrings. The longer chain length is about 1.75", and the shorter piece is about 1". Again, you can customize this part depending on your personal taste and style!

Even though I used anchors here, you could use a variety of charms (or even mix and match). Crosses, ship's captain's wheels, little bows, Celtic knots. You could change the metal color as well, especially to rose gold or a nice warm bronze for fall.

How would you customize this?

July 15, 2014

DIY Button Badge Necklace - Prep Style/British Style


Finally back with a tutorial! I know it's been awhile, apologies for the rust. I don't know about you guys, but once the Fourth of July passes, I start looking forward to fall. Maybe it's because I don't adapt to scorching temperatures very well (my best coping mechanism is mass popsicle consumption) or maybe it's simply because autumn is my favorite season. At any rate, it already feels like back to school and cooler days are just around the corner.

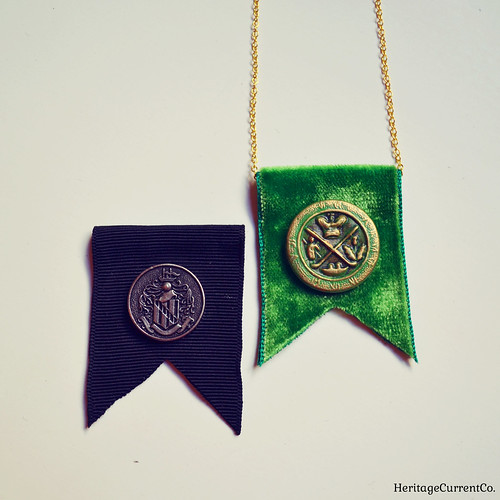
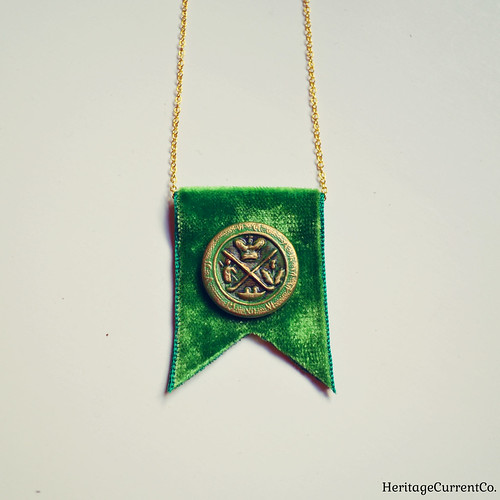
So, here's my contribution to the prep school style that will soon dominate! A simple badge necklace made with fabric, buttons, and chain that's oh-so-easy and easily adaptable to your personal style.


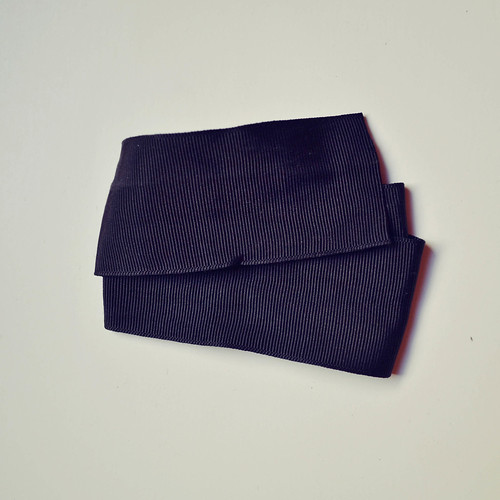
First, pick your ribbon. Here I have some vintage black grosgrain, although I also used the vintage green velvet shown in the previous photo.


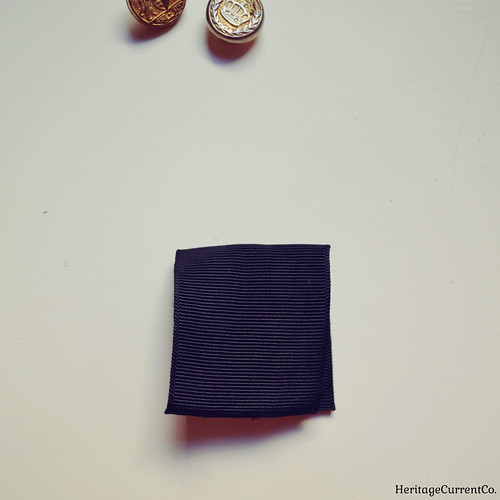
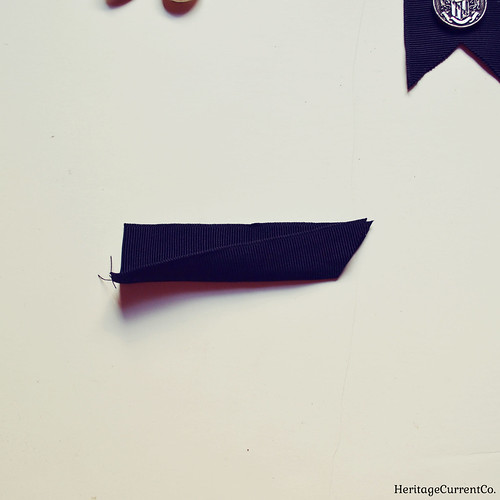
Cut a length of ribbon - I think I used around 3 inches. Make it as long or as short as you like, though! Then fold your ribbon in half and line up the edges.


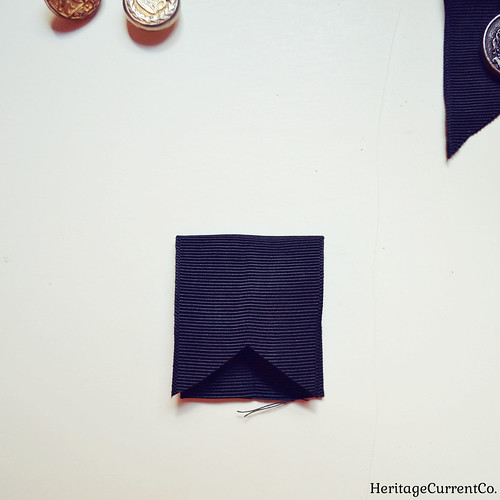
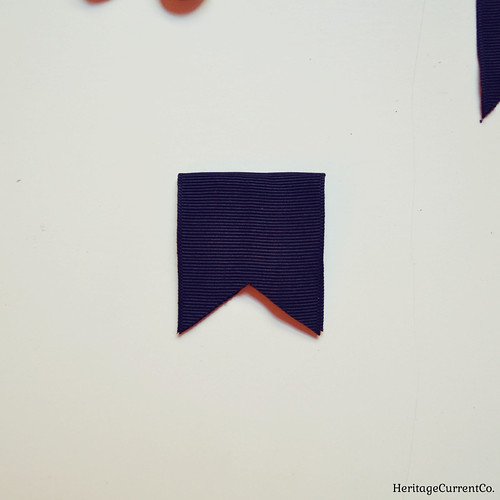
Measure your center point, and then snip out a triangle on the top layer with its top point at your center point. You can make the snip as shallow or as deep as you like. I made this one a bit shallow, but I think I prefer the deeper V of the green ribbon.


Fold your ribbon in half vertically, lining up the edges, and then use the first triangle you snipped as a guide to cut the bottom layer.


Flatten out again, and use your scissors to even up edges or make adjustments if necessary.


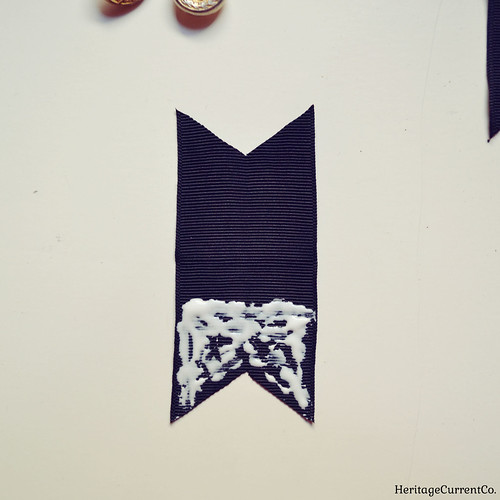
Open up your snipped ribbon, and slather fabric glue over the bottom two-thirds or so of your badge. Don't go all the way to the fold, as you'll need a space to thread your chain through. Try not to use a heavy hand as well, as the glue will flatten and spread out. Re-fold your badge, making sure the edges line up, and smooth out the fabric if there are any thick patches of glue. Let dry thoroughly. 


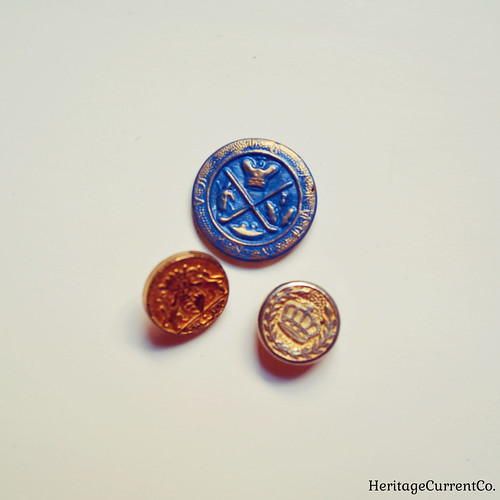
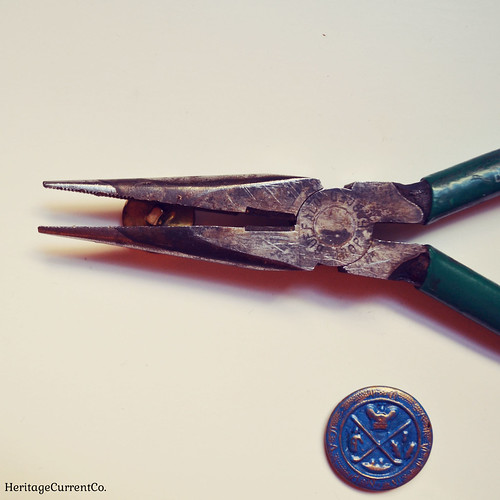
Now it's time to pick your button! I like metallic ones with heraldic-style images for a preppy/British look, but go with whatever you like. The blue Scottish-themed one shown here was originally a dark brass domed version that I flattened with pliers, painted blue, then gilded the raised details of with Rub 'N Buff. In retrospect, I think I would've liked it better domed. What do you think?


To make your buttons lie flat against the ribbon, use needle-nose pliers to take the back hole off. There's no one good way to do this, to be honest! I just kind of grip the sides with the pliers and twist/rock the button until it comes off. A file might work as well, or strong scissors. A lot of metal buttons are really good gold plastic fakes, so their backs will come right off.


Put glue on the back of your button, center it vertically and horizontally, then let dry. String chain of your choosing through the badge and add a clasp, and you're done! Gold and green is one of my favorite color combinations, so I love this one I made. I think I'm also going to create herringbone, tweed, and plaid ribbon badges.

If you had nautical-themed buttons, you could make very summer-y versions with gold chain, navy ribbon, and lobster or anchor buttons or charms. You could even substitute thin white rope for the chain for a sailor knot-style look. And with that, I'm off to the craft store...

September 28, 2013

DIY Anchor Leather Bracelet Tutorial


If you saw my DIY bracelet post featuring gold tube beads and leather, you may remember that I promised a bonus project to use up your extra leather cord. 

I used my extra pieces to make this anchor and leather bracelet in two colors. It's just as easy as the original project!


Take your extra cord, and measure around your wrist. You can make it fairly snug, or larger like a bangle. Up to you! Sometimes I do this with a piece of twine or other string, instead of using the cord I'm going to be cutting. 

This is the total length of your anchor charm, end caps, jump rings, clasp, and cord. It helps to lay everything out on your work surface. For the lengths of cord on either side of the anchor, you'll want to double them and note that some of the length will be inside the end cap (so add a few millimeters if you want the bracelet to be snug).


I decided to go with this gold anchor charm, since it had space on both ends for me to string cord. I'll be stringing the round leather cord through the loop on the top, and around the prongs at the bottom of the anchor.

I used gold because I like how it contrasts with red and blue, but you can use whatever metal color you like.


Take your two lengths of cord, and string them as shown. Don't worry about making them completely even - you can do that in the next step.


Find some gold tube crimp beads. These ones are 7.5mm on the inside, so they were wide enough to accommodate two widths of my 3mm cord.


Even up your cord lengths so they are folded perfectly in half. Add a crimp bead near where you strung your cord on either end, and use needle-nose or jeweler's pliers to tighten. Be careful not to tighten too much, however. You want the two sides of cord to lay flat next to each other, rather than stacking on top of each other.

Also, don't put a crimp bead too close to the prongs at the bottom. Leave a bit of space so that the anchor charm will lay flat when you wear the bracelet. If you put the crimp bead too close, it will end up right under the anchor charm instead of next to it, and won't look right.


Add your end caps, as described in the gold tube and leather bracelet post. Let the glue dry thoroughly before moving on to the next step.


Add jumps rings and a clasp to the end caps, and your bracelet is finished. You can see the blue version I made here.

This nautical-themed bracelet is great for summer, but also works well for adding a touch of the sea and ocean to your outfit year-round. Like the gold tube and leather bracelets, this anchor bracelet would make a thoughtful handmade Christmas or holiday gift!

You Might Also Like:

Related Posts Plugin for WordPress, Blogger...