
Finally back with a tutorial! I know it's been awhile, apologies for the rust. I don't know about you guys, but once the Fourth of July passes, I start looking forward to fall. Maybe it's because I don't adapt to scorching temperatures very well (my best coping mechanism is mass popsicle consumption) or maybe it's simply because autumn is my favorite season. At any rate, it already feels like back to school and cooler days are just around the corner.
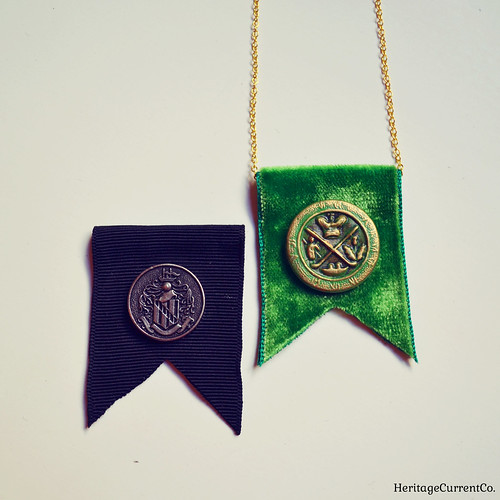
So, here's my contribution to the prep school style that will soon dominate! A simple badge necklace made with fabric, buttons, and chain that's oh-so-easy and easily adaptable to your personal style.
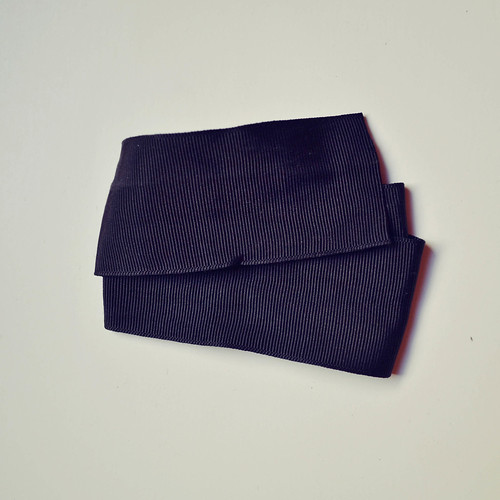
First, pick your ribbon. Here I have some vintage black grosgrain, although I also used the vintage green velvet shown in the previous photo.
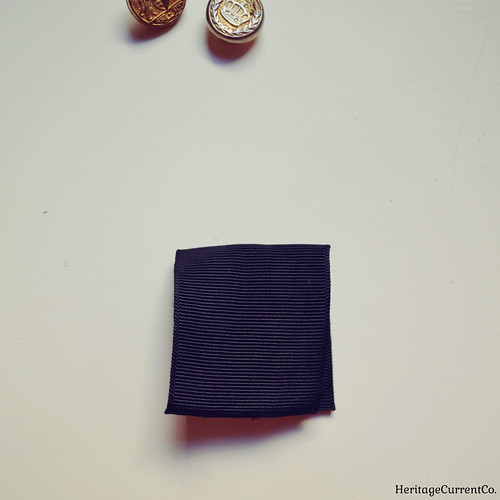
Cut a length of ribbon - I think I used around 3 inches. Make it as long or as short as you like, though! Then fold your ribbon in half and line up the edges.
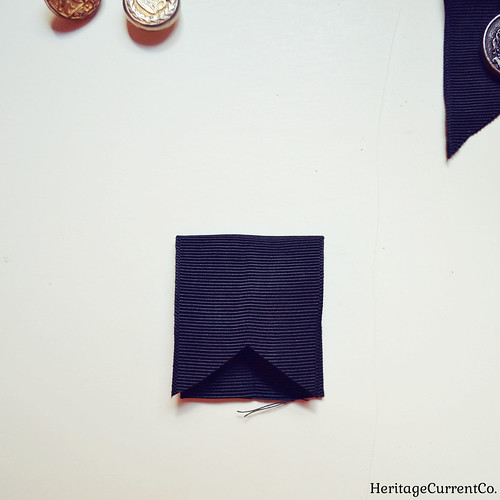
Measure your center point, and then snip out a triangle on the top layer with its top point at your center point. You can make the snip as shallow or as deep as you like. I made this one a bit shallow, but I think I prefer the deeper V of the green ribbon.
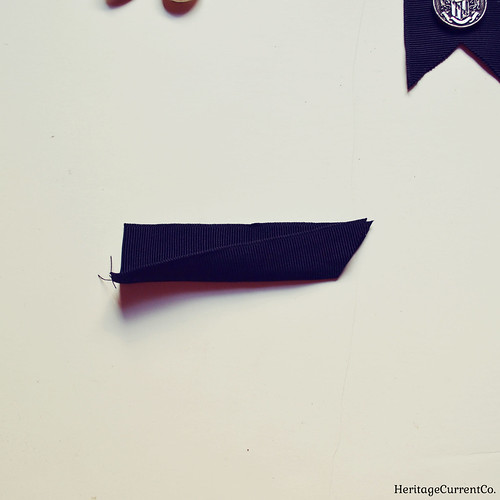
Fold your ribbon in half vertically, lining up the edges, and then use the first triangle you snipped as a guide to cut the bottom layer.
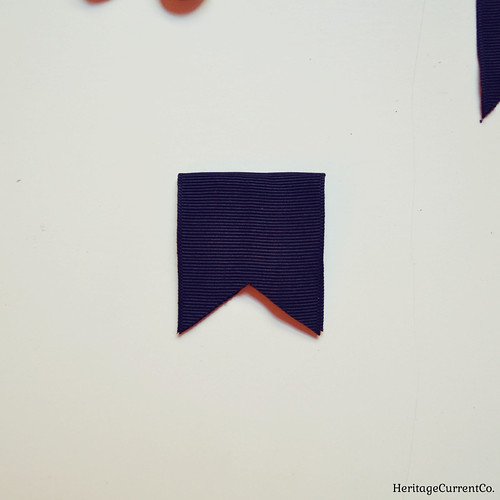
Flatten out again, and use your scissors to even up edges or make adjustments if necessary.
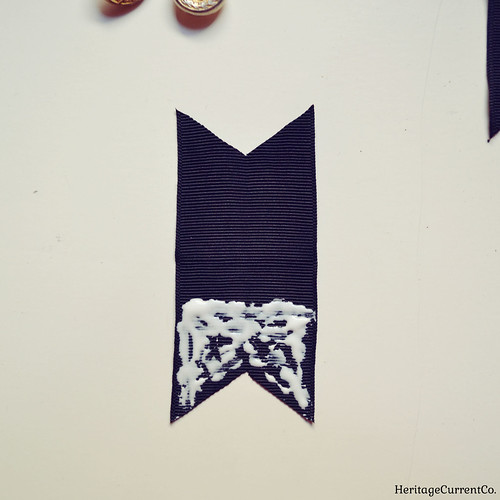
Open up your snipped ribbon, and slather fabric glue over the bottom two-thirds or so of your badge. Don't go all the way to the fold, as you'll need a space to thread your chain through. Try not to use a heavy hand as well, as the glue will flatten and spread out. Re-fold your badge, making sure the edges line up, and smooth out the fabric if there are any thick patches of glue. Let dry thoroughly.
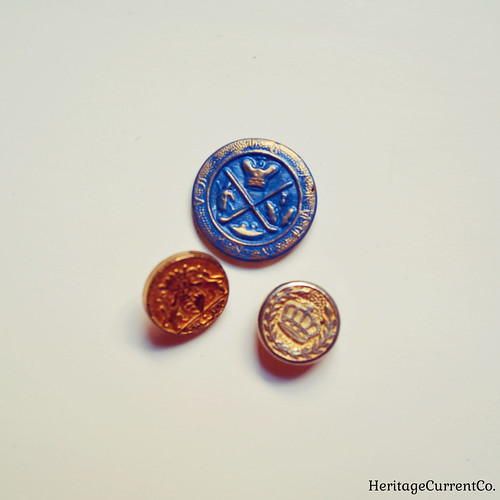
Now it's time to pick your button! I like metallic ones with heraldic-style images for a preppy/British look, but go with whatever you like. The blue Scottish-themed one shown here was originally a dark brass domed version that I flattened with pliers, painted blue, then gilded the raised details of with Rub 'N Buff. In retrospect, I think I would've liked it better domed. What do you think?
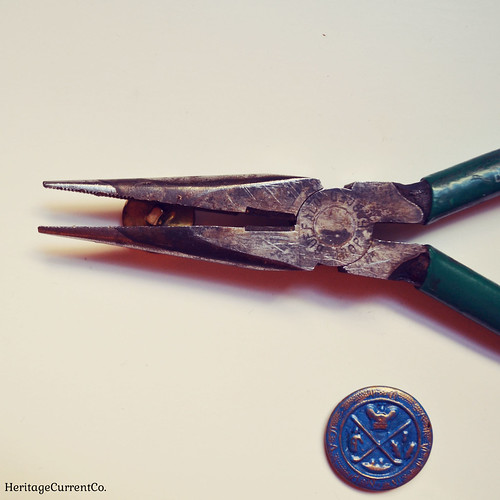
To make your buttons lie flat against the ribbon, use needle-nose pliers to take the back hole off. There's no one good way to do this, to be honest! I just kind of grip the sides with the pliers and twist/rock the button until it comes off. A file might work as well, or strong scissors. A lot of metal buttons are really good gold plastic fakes, so their backs will come right off.
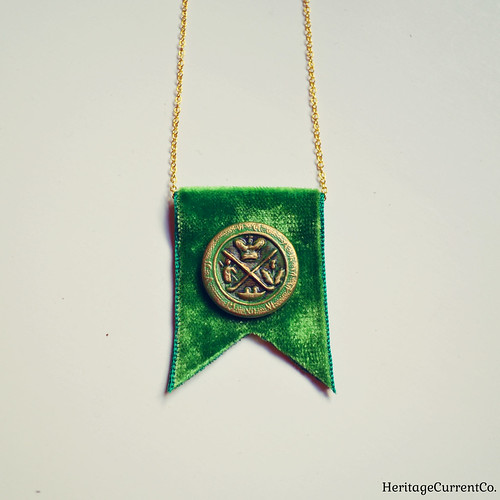
Put glue on the back of your button, center it vertically and horizontally, then let dry. String chain of your choosing through the badge and add a clasp, and you're done! Gold and green is one of my favorite color combinations, so I love this one I made. I think I'm also going to create herringbone, tweed, and plaid ribbon badges.
If you had nautical-themed buttons, you could make very summer-y versions with gold chain, navy ribbon, and lobster or anchor buttons or charms. You could even substitute thin white rope for the chain for a sailor knot-style look. And with that, I'm off to the craft store...


